What looks like a simple paper task can quickly turn confusing when the scan doesn’t land on the computer the way it should.
A few correct steps at the start make the entire process feel smooth and predictable, rather than a trial-and-error process. Most printers already have the right tools built in; the real difference comes from how each option is used.
Understanding different scanning methods in a clear way helps in choosing the right path for any setup easy to work with.
Getting the Basics Right Before Scanning
A smooth scan starts with a clean setup and a stable connection. Most issues occur before the scan even begins, so a quick check keeps everything running without interruptions.
What is needed
- A printer with a scan function built in
- A Windows or Mac computer ready to connect
- USB cable or active Wi-Fi link between devices
- Proper printer drivers or scanning app installed
Where documents go
- Flatbed glass for single pages and photos
- Automatic Document Feeder (ADF) for stacks of pages
A correct setup here keeps the scan process steady and reduces failed attempts later.
How to Scan from Printer to Computer: Step-by-Step Methods
Scanning can be done in more than one way, depending on the device setup and the level of control needed.
Each method follows a slightly different flow, but the goal stays the same: getting a clear digital copy saved on the computer.
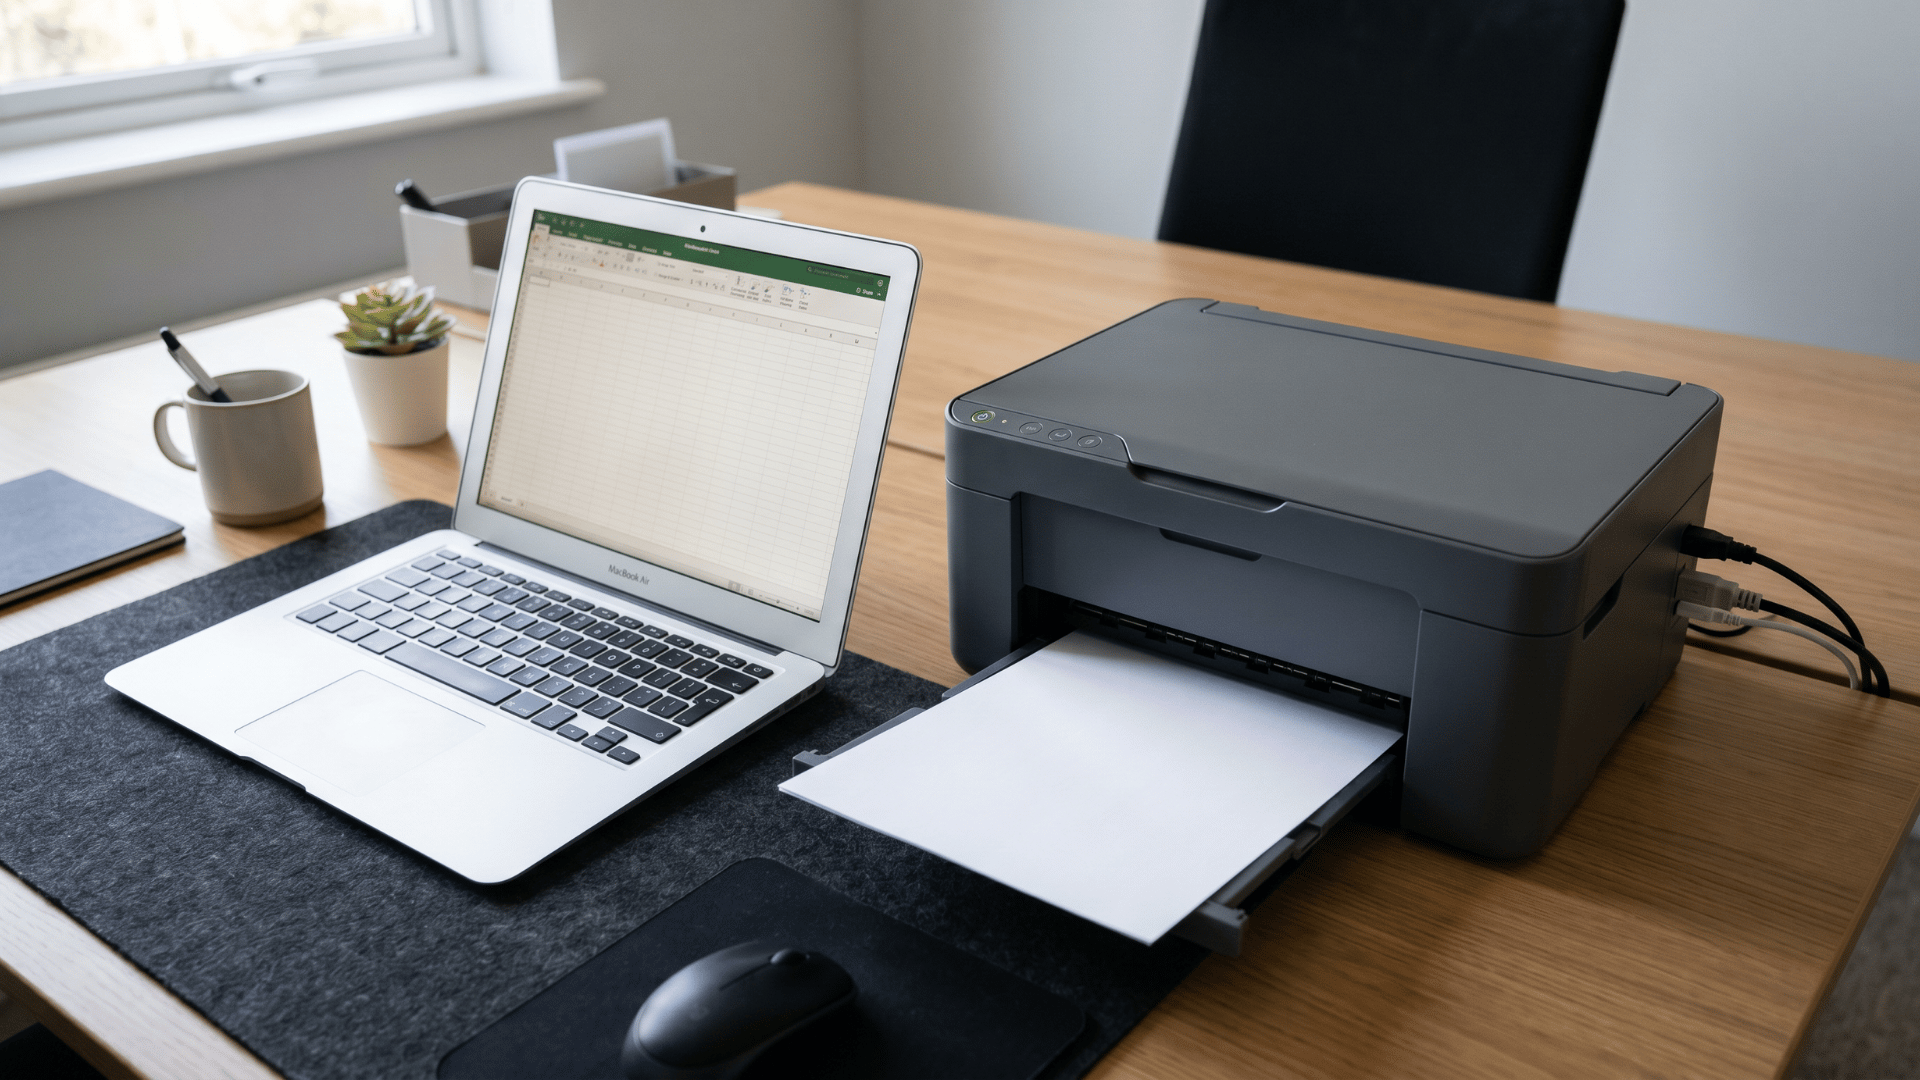
Method 1: Scan Using Windows Tools
![]()
Windows comes with a built-in scanning app that works with most printers once they are properly connected.
It keeps things simple and avoids the need for extra software. This method is ideal for quick and direct document scanning.
Steps to follow
- Turn on the printer and make sure it is connected to the computer via USB or Wi-Fi
- Place the document on the scanner glass or in the document feeder
- Open the Start menu and search for “Windows Scan”
- Launch the app and wait for it to detect the printer
- Select the correct scanner from the list if more than one appears
- Choose scan settings like color mode, file type (PDF/JPG), and resolution
- Click Preview if available to check alignment and clarity
- Press Scan and wait for the process to complete
- Save the file in the desired folder on the computer
|
Best use case
|
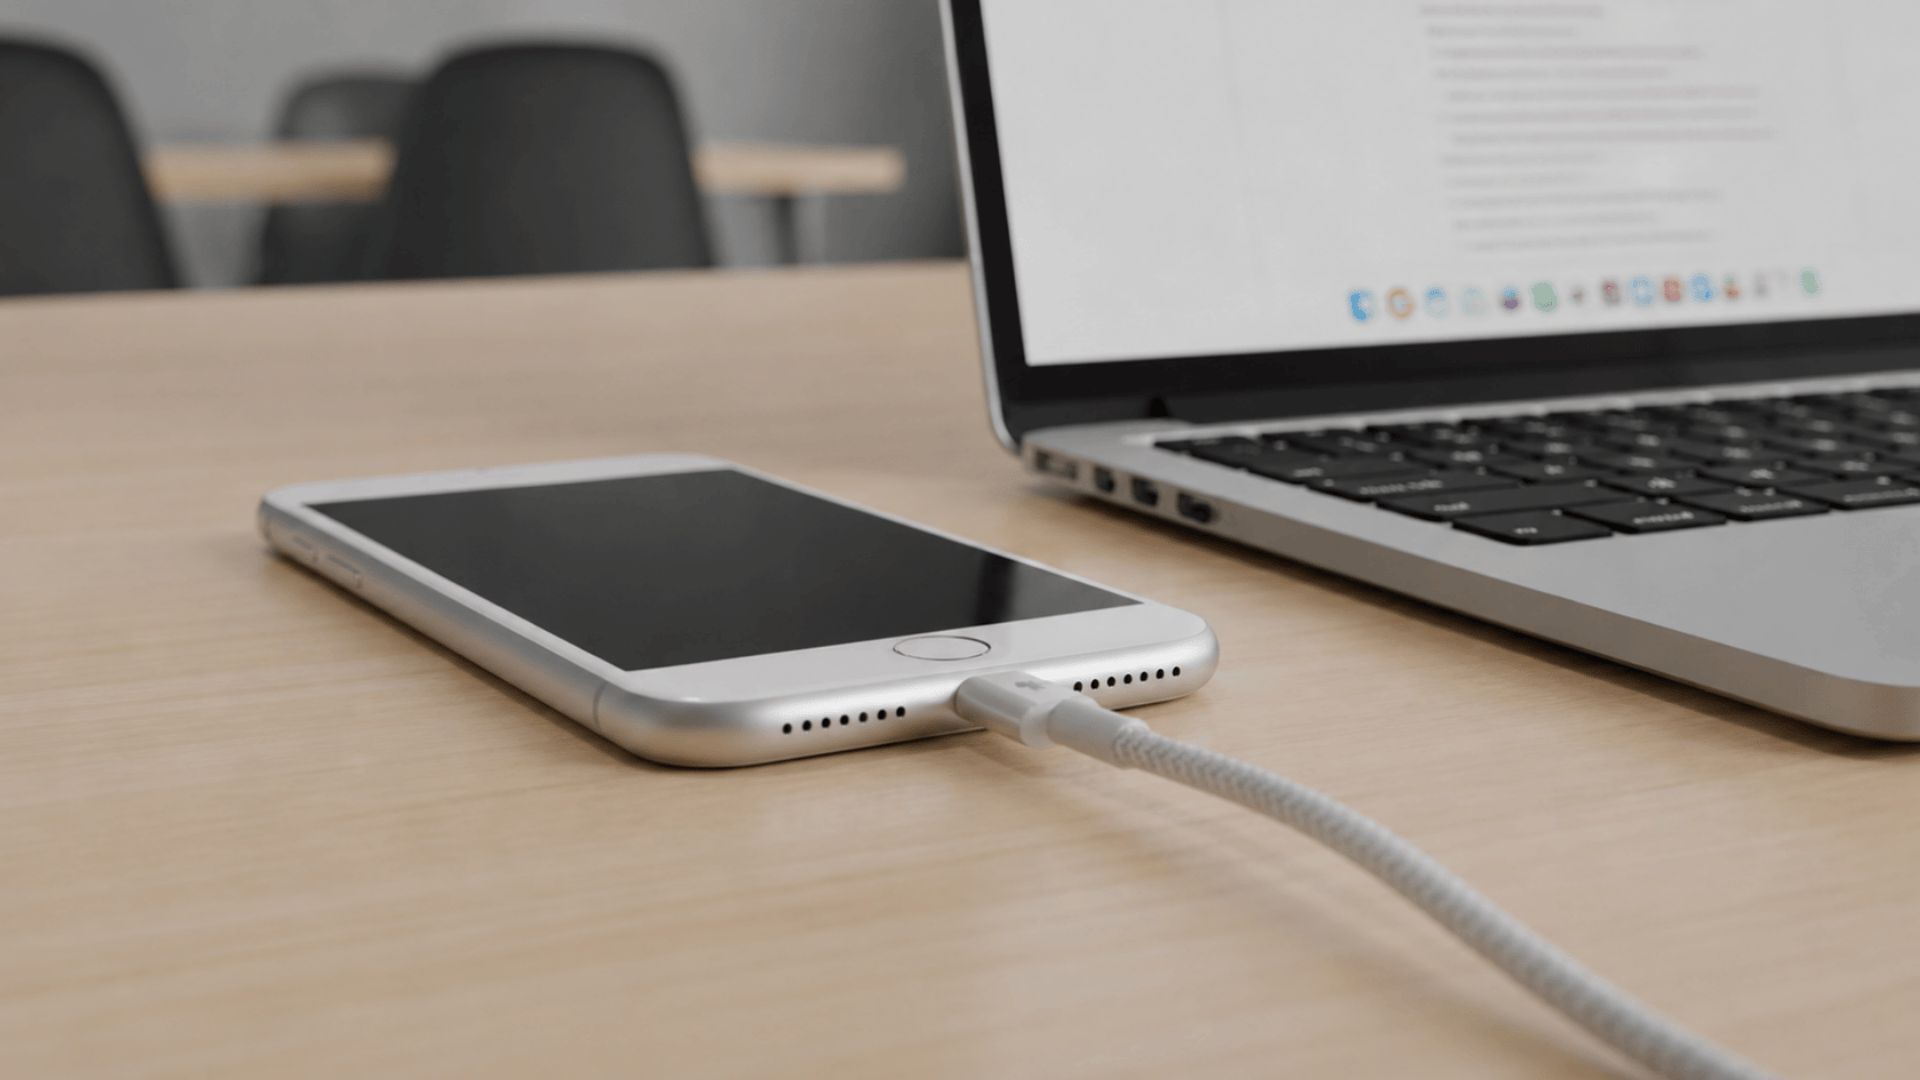
Method 2: Scan on Mac Systems
![]()
Mac systems use built-in printer settings to handle scanning without extra installations.
Everything is managed through system preferences for easy control. This method works well for clean and organized document scans.
Steps to follow
- Turn on the printer and connect it to the Mac using Wi-Fi or cable
- Place the document properly on the scanner bed or feeder
- Open the Apple menu and go to System Settings or System Preferences
- Click Printers & Scanners from the sidebar
- Select the connected printer from the list
- Click the Scan tab and open Scanner or “Open Scanner” option
- Adjust scan settings like resolution, color format, and file type
- Preview the scan to ensure correct positioning
- Click Scan and choose a save location when prompted
|
Best use case
|
Method 3: Scan Directly from Printer Panel
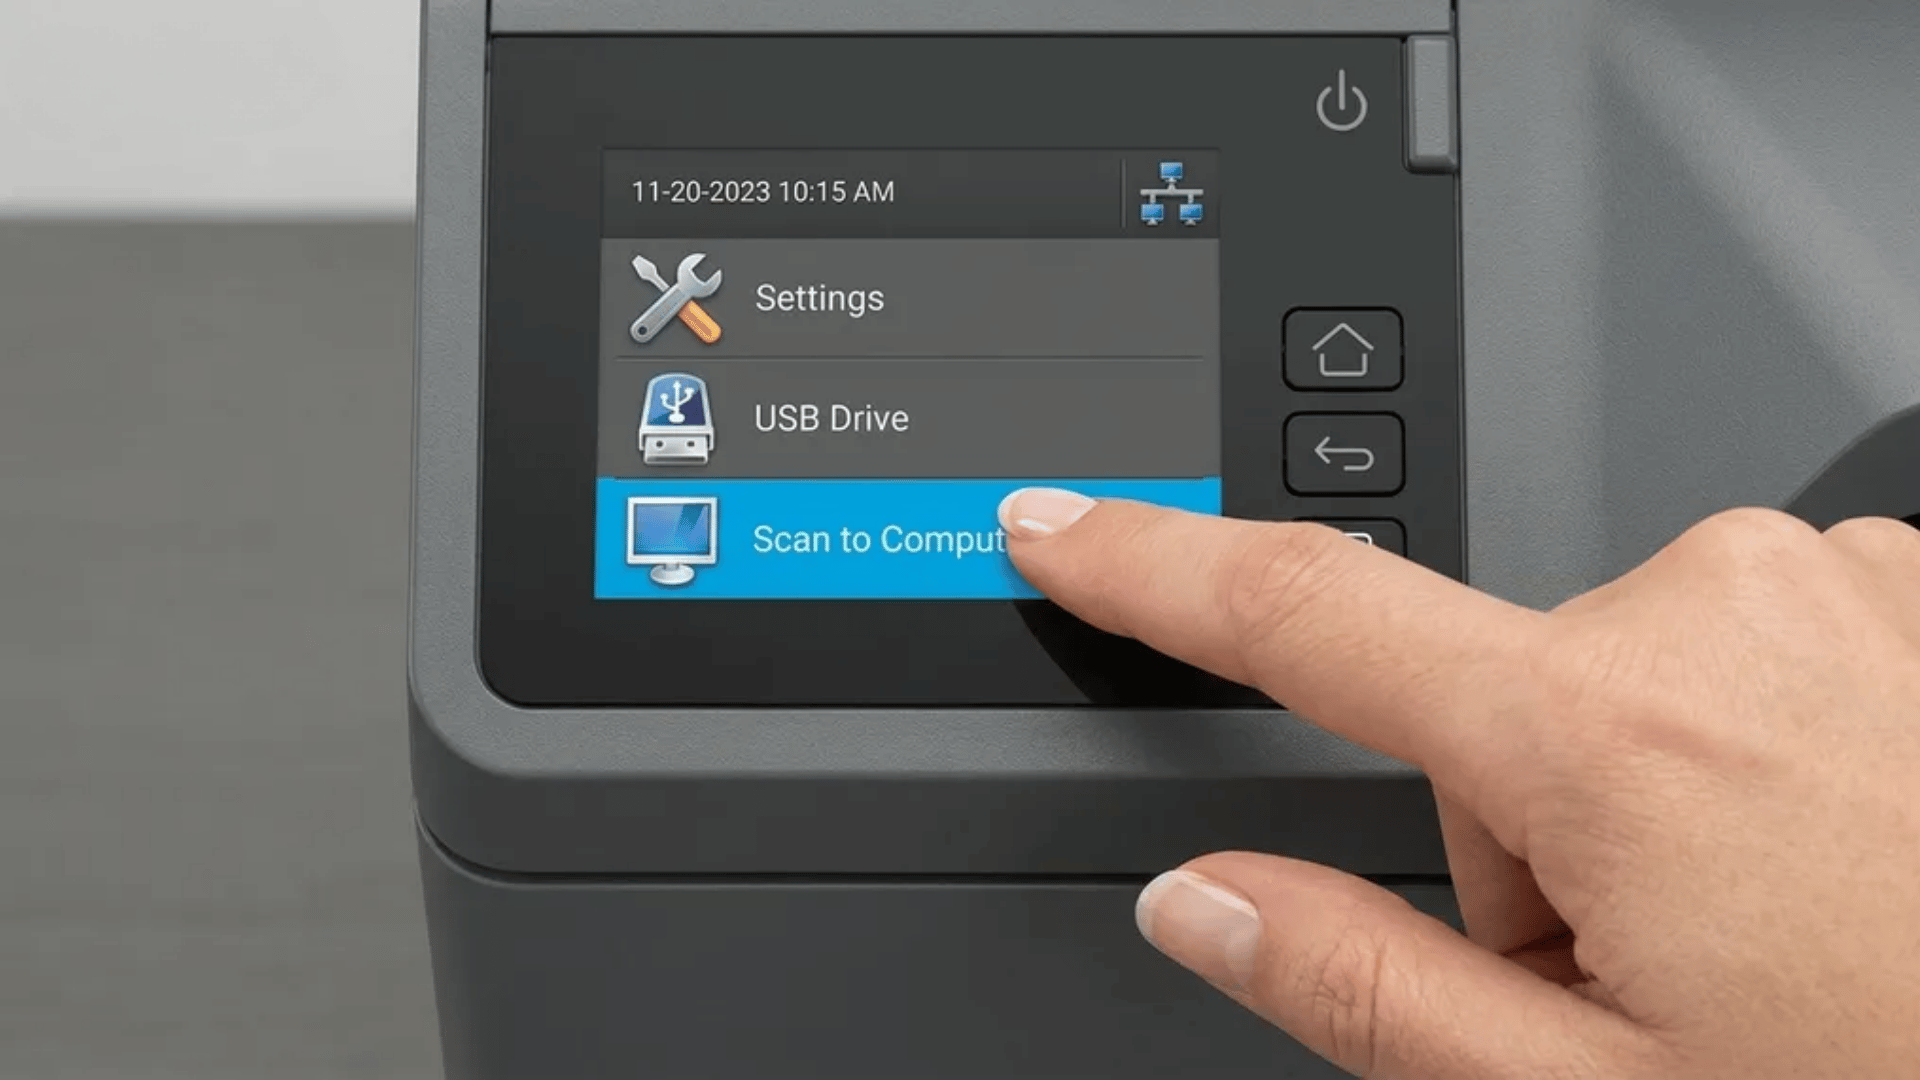
Modern printers allow scanning without touching the computer at all.
Everything is controlled from the printer screen itself. This method is useful when speed and convenience matter most.
Steps to follow
- Place the document face-down on the scanner glass or face-up in the feeder
- Make sure paper edges are aligned properly with the guide marks
- Turn on the printer and navigate to the Scan option on the display panel
- Select “Scan to Computer” or similar option from the menu
- Choose your computer name if it appears on the printer screen
- Select scan preferences such as file format or color mode if prompted
- Press Start Scan or OK to begin scanning
- Wait for the file to transfer to the computer automatically
|
Best use case
|
Method 4: Use Manufacturer Software for Advanced Control
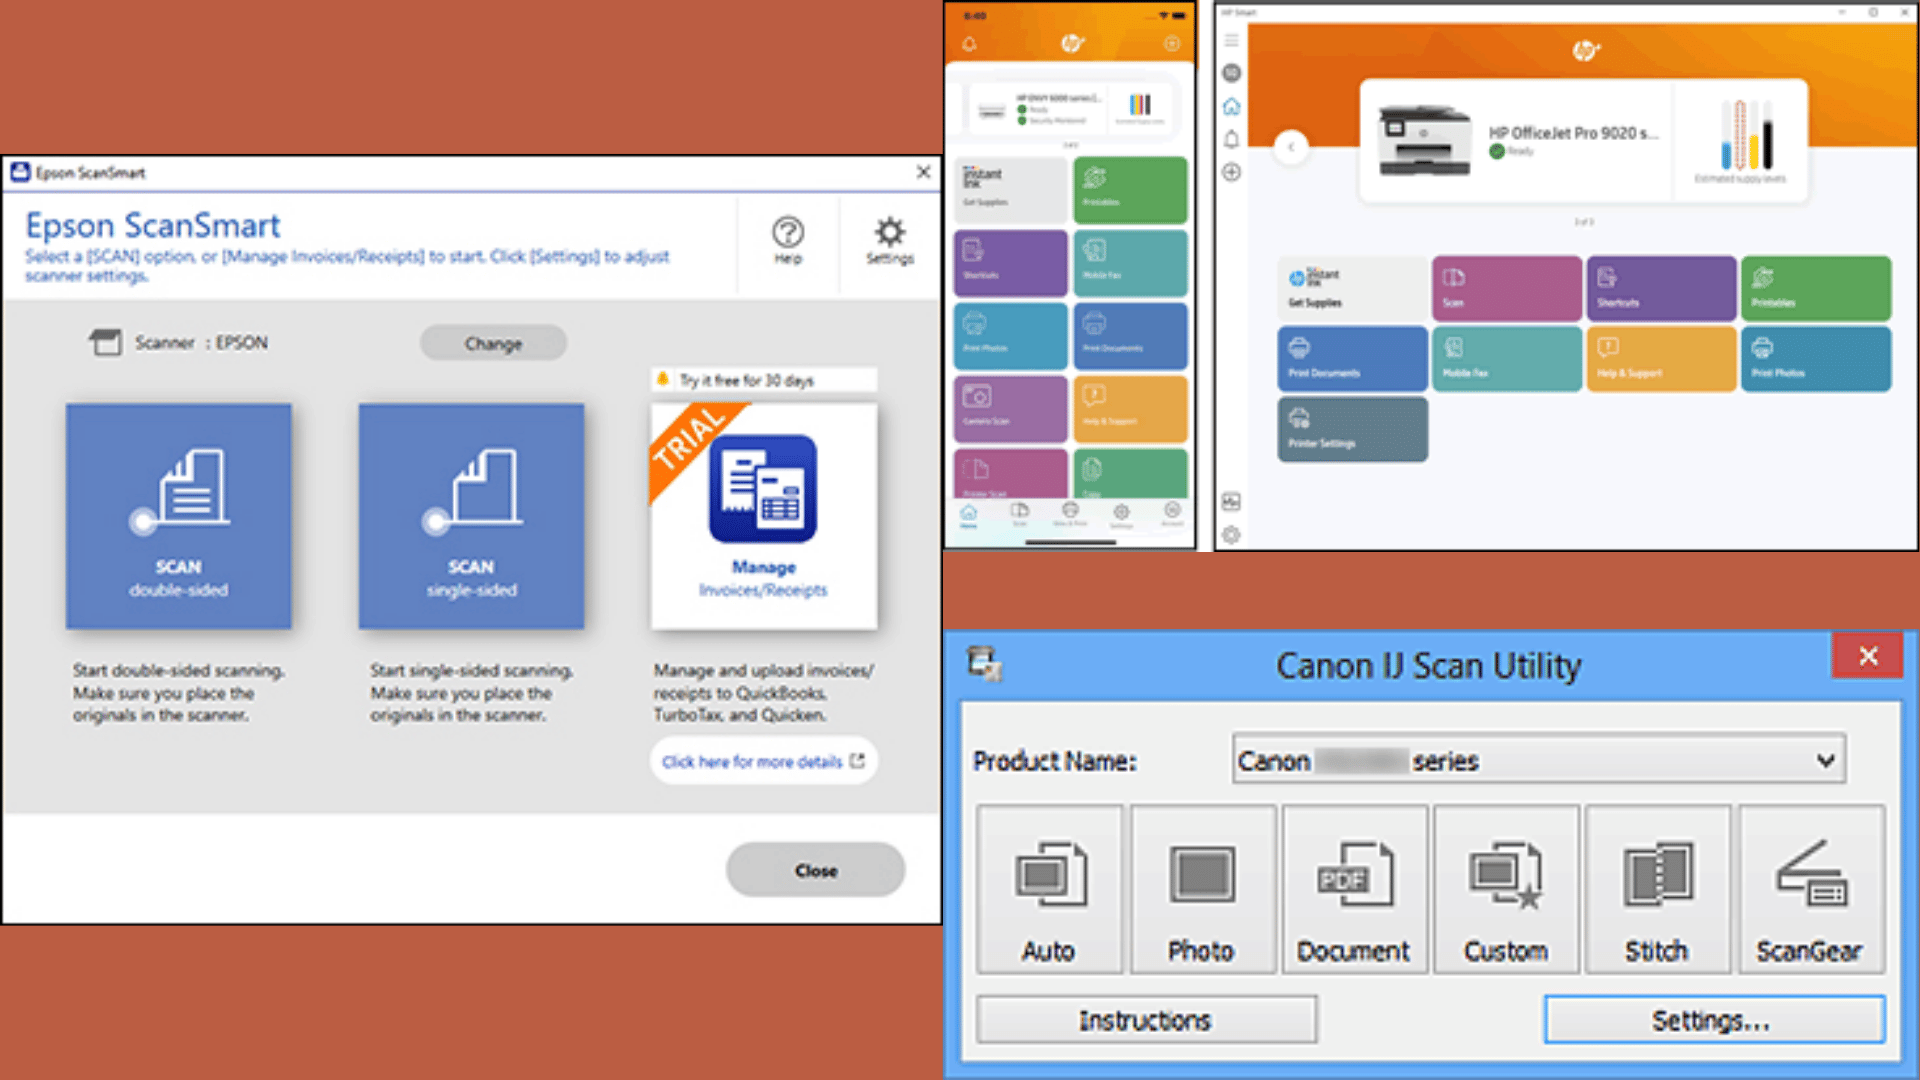
Printer brands offer dedicated apps that unlock deeper scan controls and better output quality.
These tools are designed for users who need more precision and flexibility. It works best when scan quality and customization matter.
Steps to follow
- Install the official printer software like HP Smart, Epson ScanSmart, or Canon IJ Scan Utility
- Open the installed application on the computer
- Select the Scan option or tile from the home screen
- Place the document on the scanner bed or feeder tray
- Choose scan type such as document, photo, or OCR scan
- Adjust settings like resolution, file format, and destination folder
- Use preview option to adjust alignment or cropping
- Click Scan and wait for processing to complete
- Save or export the file in the chosen format
|
What it offers
|
These methods offer a clear, structured approach to scanning documents with a printer.
For quick reference, use this video by Printer Insider as a go to step-by-step guide for scanning from printer to computer.
Saving and Choosing the Right Format
The file format you choose affects how the scanned document behaves later when you open, edit, or share it. A good choice here keeps the file useful and easy to manage.
Common Formats for Scanned Files
| Format | Best Use | Key Benefit | Typical Example |
|---|---|---|---|
| Multi-page documents and official files | Keeps pages organized in one file and maintains layout | Contracts, forms, reports | |
| JPEG | Photos and simple visual scans | Creates smaller file sizes for easy sharing | ID cards, single-page images, photos |
| PNG | High-detail visuals and sharp images | Preserves clearer quality with better detail | Graphics, diagrams, detailed scans |
Use PDF when scanning documents, reports, or anything that has multiple pages, since it keeps everything structured in one file.
Image formats like JPEG or PNG work better for photos or visual content where detail and appearance matter more than structure.
Think of PDF as organized and easy to manage, while image formats stay flexible and visually focused.
Why Can’t I Scan from My Printer to My Computer?
Scanning failures usually come from a break in communication between the printer and the computer rather than a fault in the hardware itself.
The printing function may still work, but scanning relies on drivers, network access, and background services that need to stay in sync.
1. Check Connections and Restart Devices
A weak or mismatched connection is the most common trigger.
- Confirm both devices are on the same Wi-Fi network for wireless scanning
- Reconnect USB cable directly to the computer if using wired mode
- Restart printer, computer, and router to refresh the connection chain
2. Update or Reinstall Printer Drivers
Outdated or missing drivers can stop scanning even when printing works fine.
- Download the latest full driver package from the official brand website
- Remove the existing printer setup from system settings
- Reinstall fresh drivers to reset scanner communication
3. Adjust Firewall or Security Settings
Security software may quietly block scan requests in the background.
- Temporarily disable firewall or antivirus to test the issue
- If scanning starts working, add printer software to allowed apps list
- Ensure network permissions are enabled for printer services
4. Try Scanning from the Computer Instead
Sometimes the printer panel fails while computer-based scanning still works.
- Open Windows Scan or Mac Printers & Scanners menu
- Select the printer manually and start scan from the system
- This bypasses control-panel glitches and forces direct communication
|
Simple Tips for Better Scans
|
Final Verdict
Scanning does not need to feel like a technical puzzle.
Once the right method is chosen and the setup is stable, the entire process becomes quick and predictable. Each option, whether through a computer app, a printer panel, or brand software, serves a different kind of need, depending on the need for speed and control.
A few small adjustments to how you handle and save files can also improve your everyday workflow without extra effort.
If any part of the scanning process still feels tricky or behaves differently on your device, drop a comment below. Share what setup is being used or where things get stuck, and I will help sort it out.
Frequently Asked Questions
Where Does The HP Printer Scan To?
Scanned documents from an HP printer generally go to the Documents or Pictures folder on your computer. The exact destination depends on the scanning software you use.
What Is the Shortcut Key for Scan?
To instantly open the built-in “Windows Scan” app on your PC, press Windows Key + S, type Windows Scan, and press Enter.
Why Is My Computer Not Picking Up My Scanner?
To get your PC to recognize your scanner, ensure the device is firmly connected and turned on.