A laptop not showing on a projector during a meeting or class can slow everything down. Many users struggle with HDMI connections, wrong input selection, or blank screens at the wrong time.
A simple setup process helps achieve a stable display and smoother presentations. This guide explains how to connect a laptop to a projector with HDMI in a clear and practical way.
Readers will learn a step-by-step connection method, projector input setup, and display mode options on Windows and Mac.
How to Connect a Laptop to a Projector with HDMI?
To connect a laptop to a projector using HDMI, start by inserting one end of the HDMI cable into the laptop and the other end into the projector’s HDMI port.
Once both devices are powered on, use the projector remote or input/source button to select HDMI as the active input.
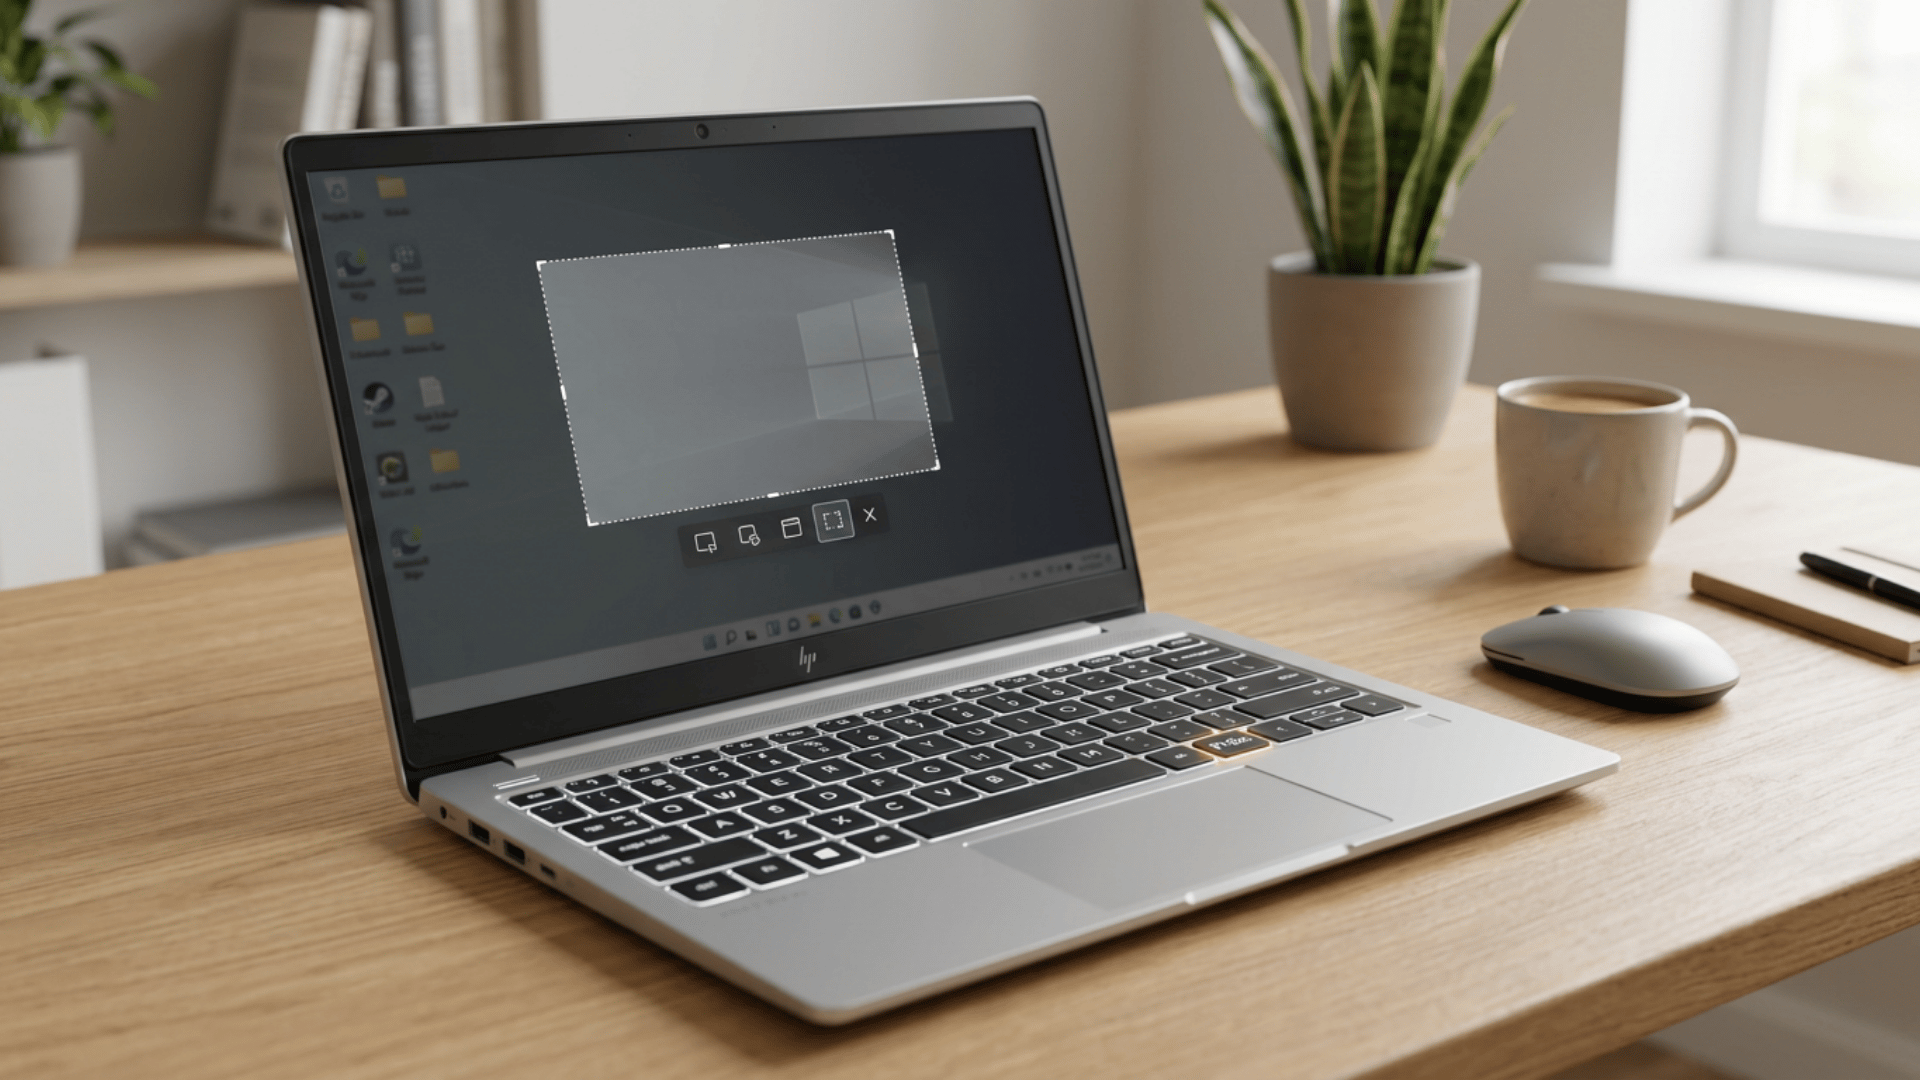
On the laptop, open display settings or press Windows + P (on Windows) to choose how the screen should appear, such as Duplicate or Extend, depending on your requirement.
What Do You Need Before Connecting a Laptop to a Projector via HDMI?
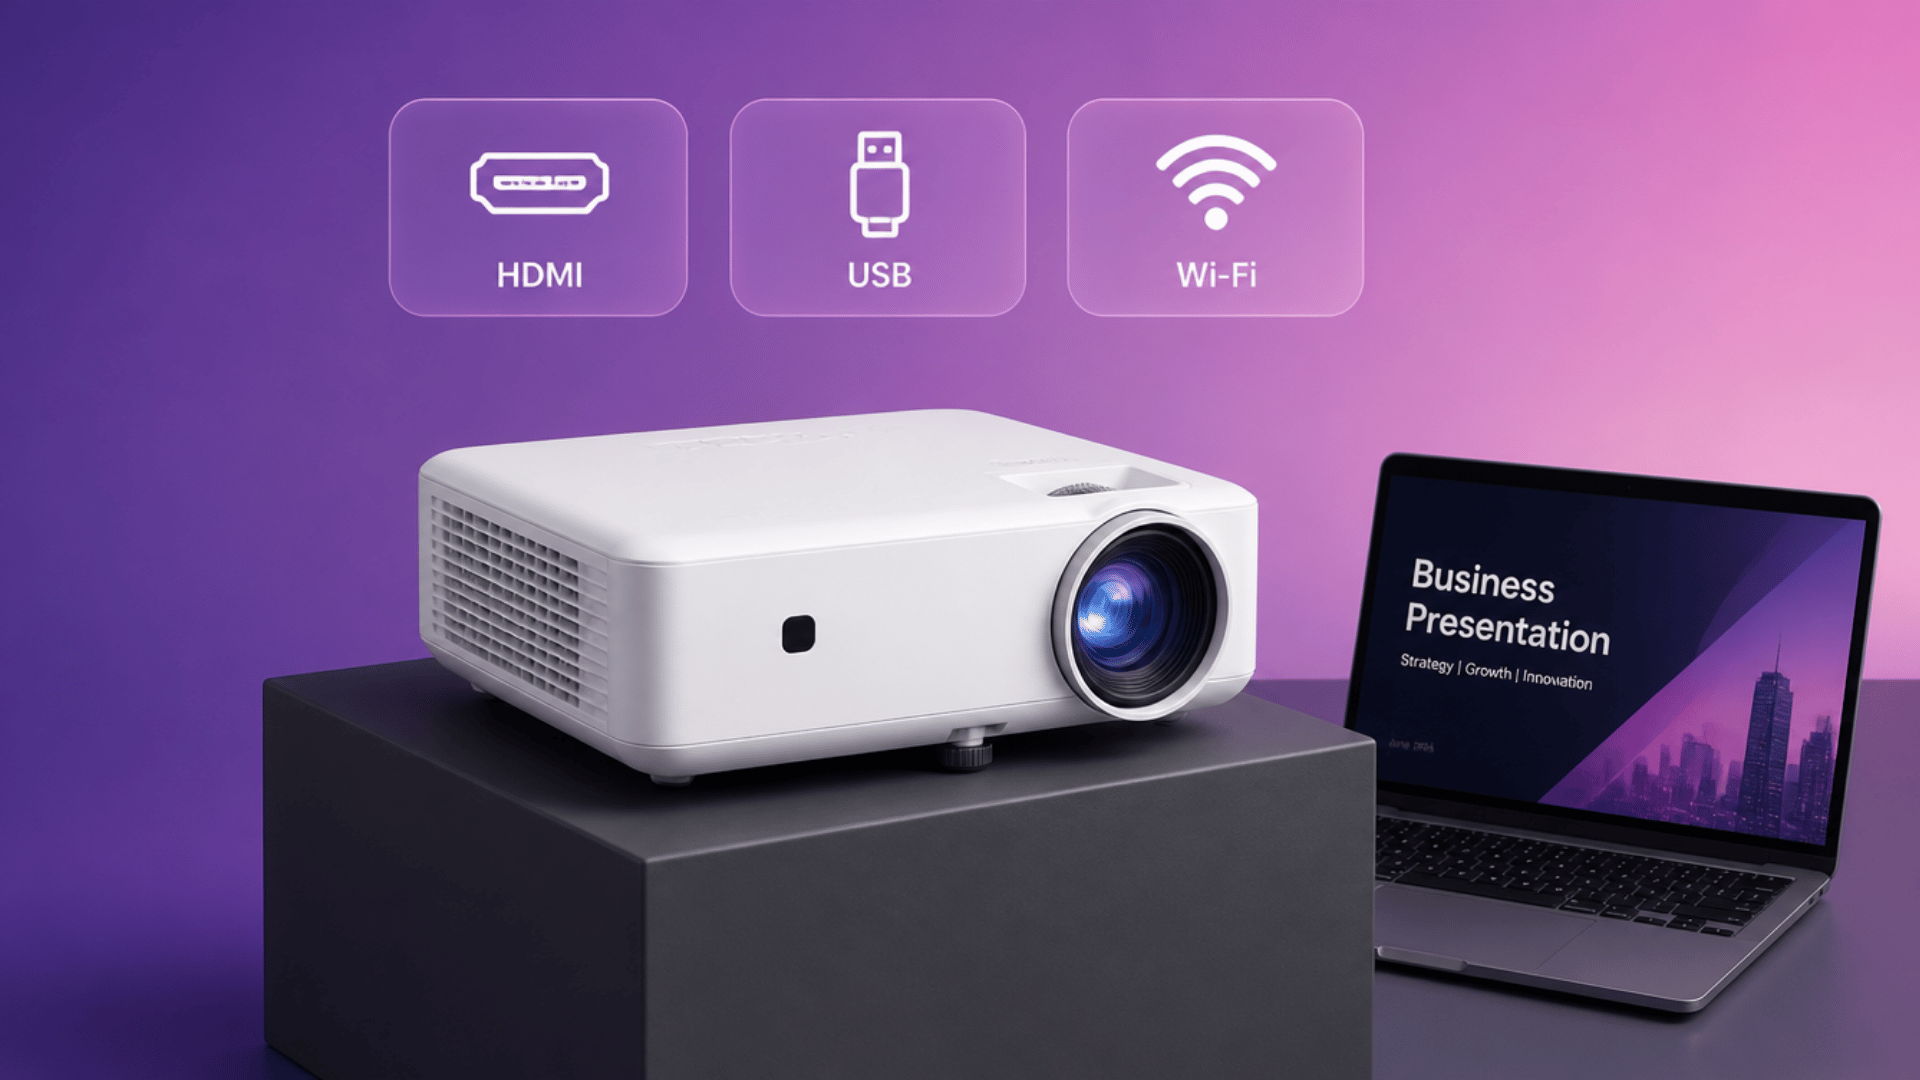
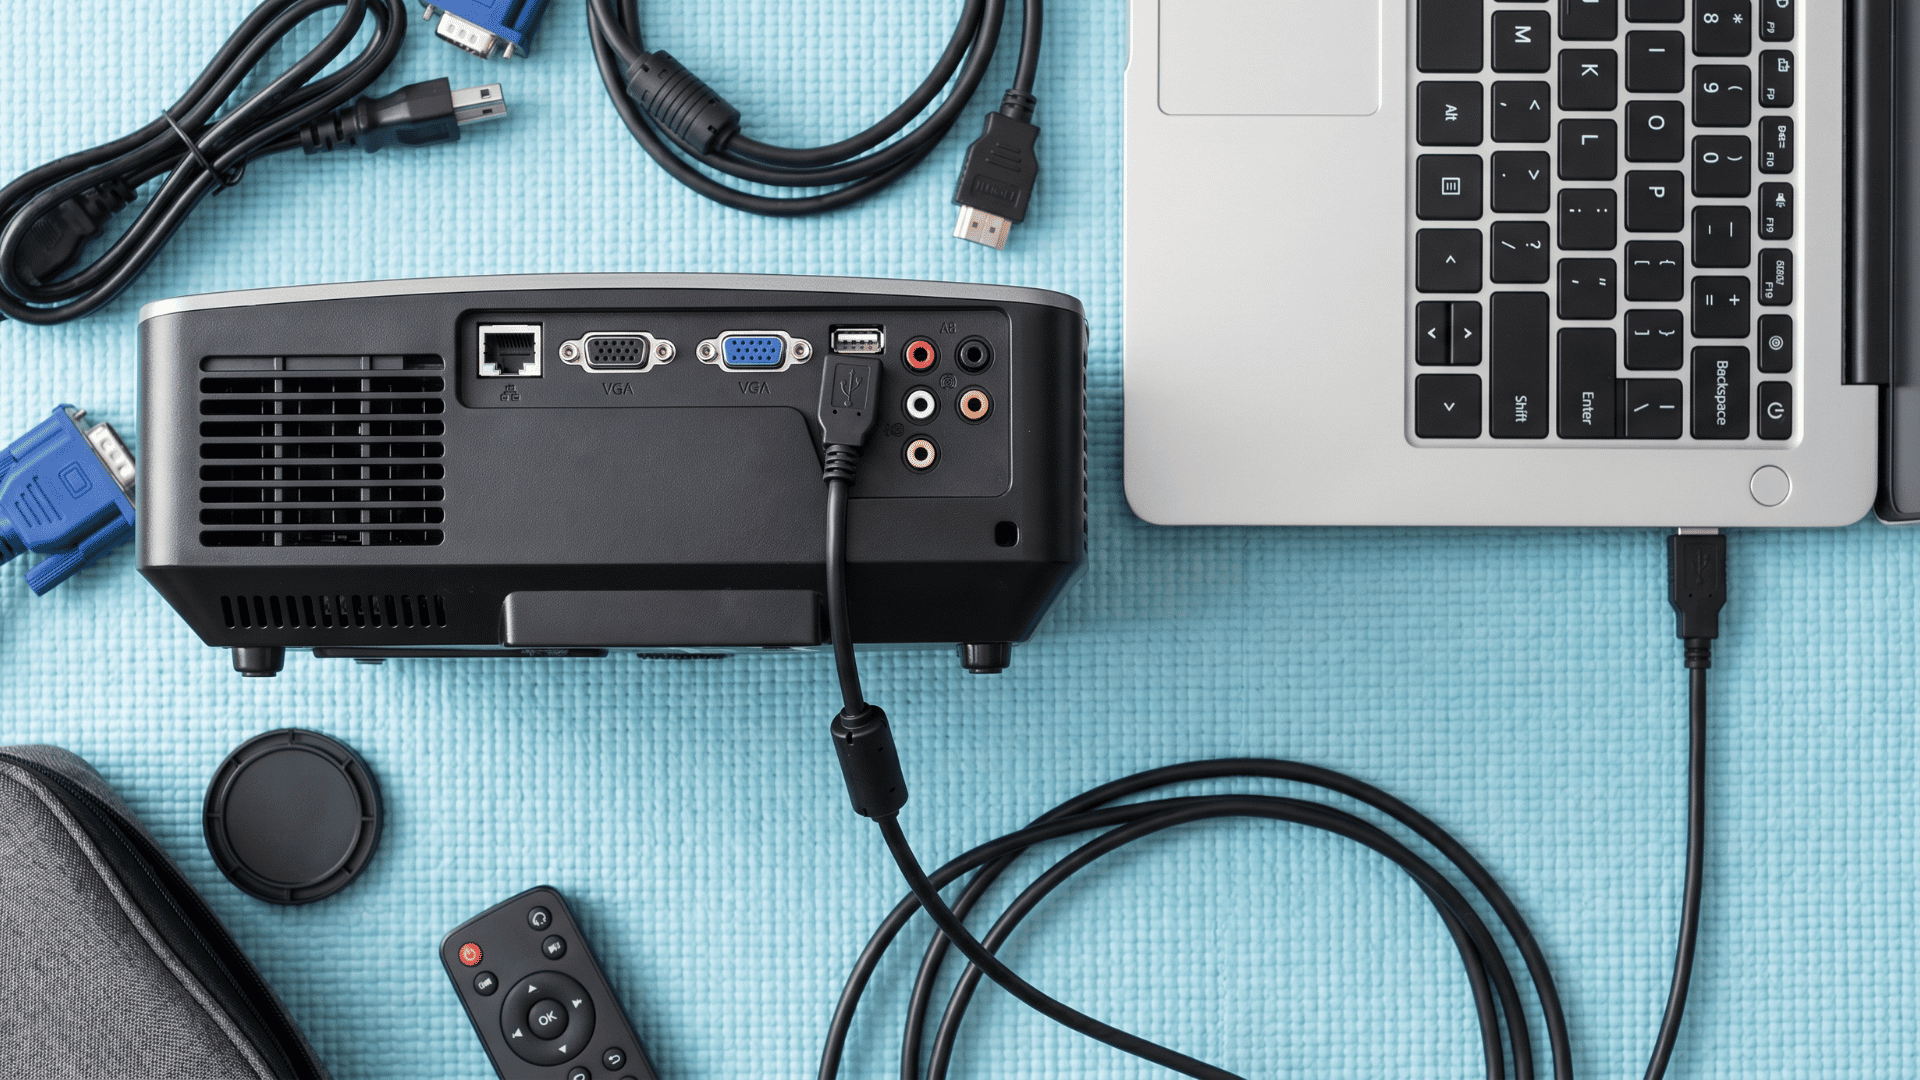
Before connecting a Laptop to a projector using HDMI, make sure the laptop has an HDMI or USB-C port with video support, the projector has an HDMI input, and you have a working HDMI cable.
If the Laptop only has USB-C, a compatible HDMI adapter is required. Also, ensure the Projector is set to the correct HDMI input source.
Required Items
- Laptop with HDMI Port or USB-C Port with Video Support
- Projector with HDMI Input Port
- HDMI Cable (standard or High-Speed for 4 K Support)
- Usb-C to Hdmi Adapter if Laptop Has No Hdmi Port
Port Check
- Many Thin Laptops Use USB-C Only Instead of HDMI.
- USB-C must support DisplayPort Alt Mode or Thunderbolt for Video Output.
Projector Input Check
- The Projector Must be set to the correct HDMI source before connection.
- HDMI 1 or HDMI 2 Must Match the Port Used.
How to Project Laptop to Projector Wirelessly?
Wireless projection allows screen sharing without using HDMI cables. It uses Wi-Fi-based casting or built-in screen mirroring features.
On Windows, use the Connect or Cast option for supported projectors or smart displays. Both devices must be connected to the same network for stable wireless projection.
How to Connect a Laptop to a Projector with HDMI Step-by-Step?
HDMI connection follows a fixed sequence in which each step must be completed in order, from cable connection to input selection to display activation.
Skipping any step can interrupt the signal flow between the laptop and the projector, leading to a blank or “no signal” screen, even if the hardware is working correctly.
Step 1: Connect the HDMI Cable
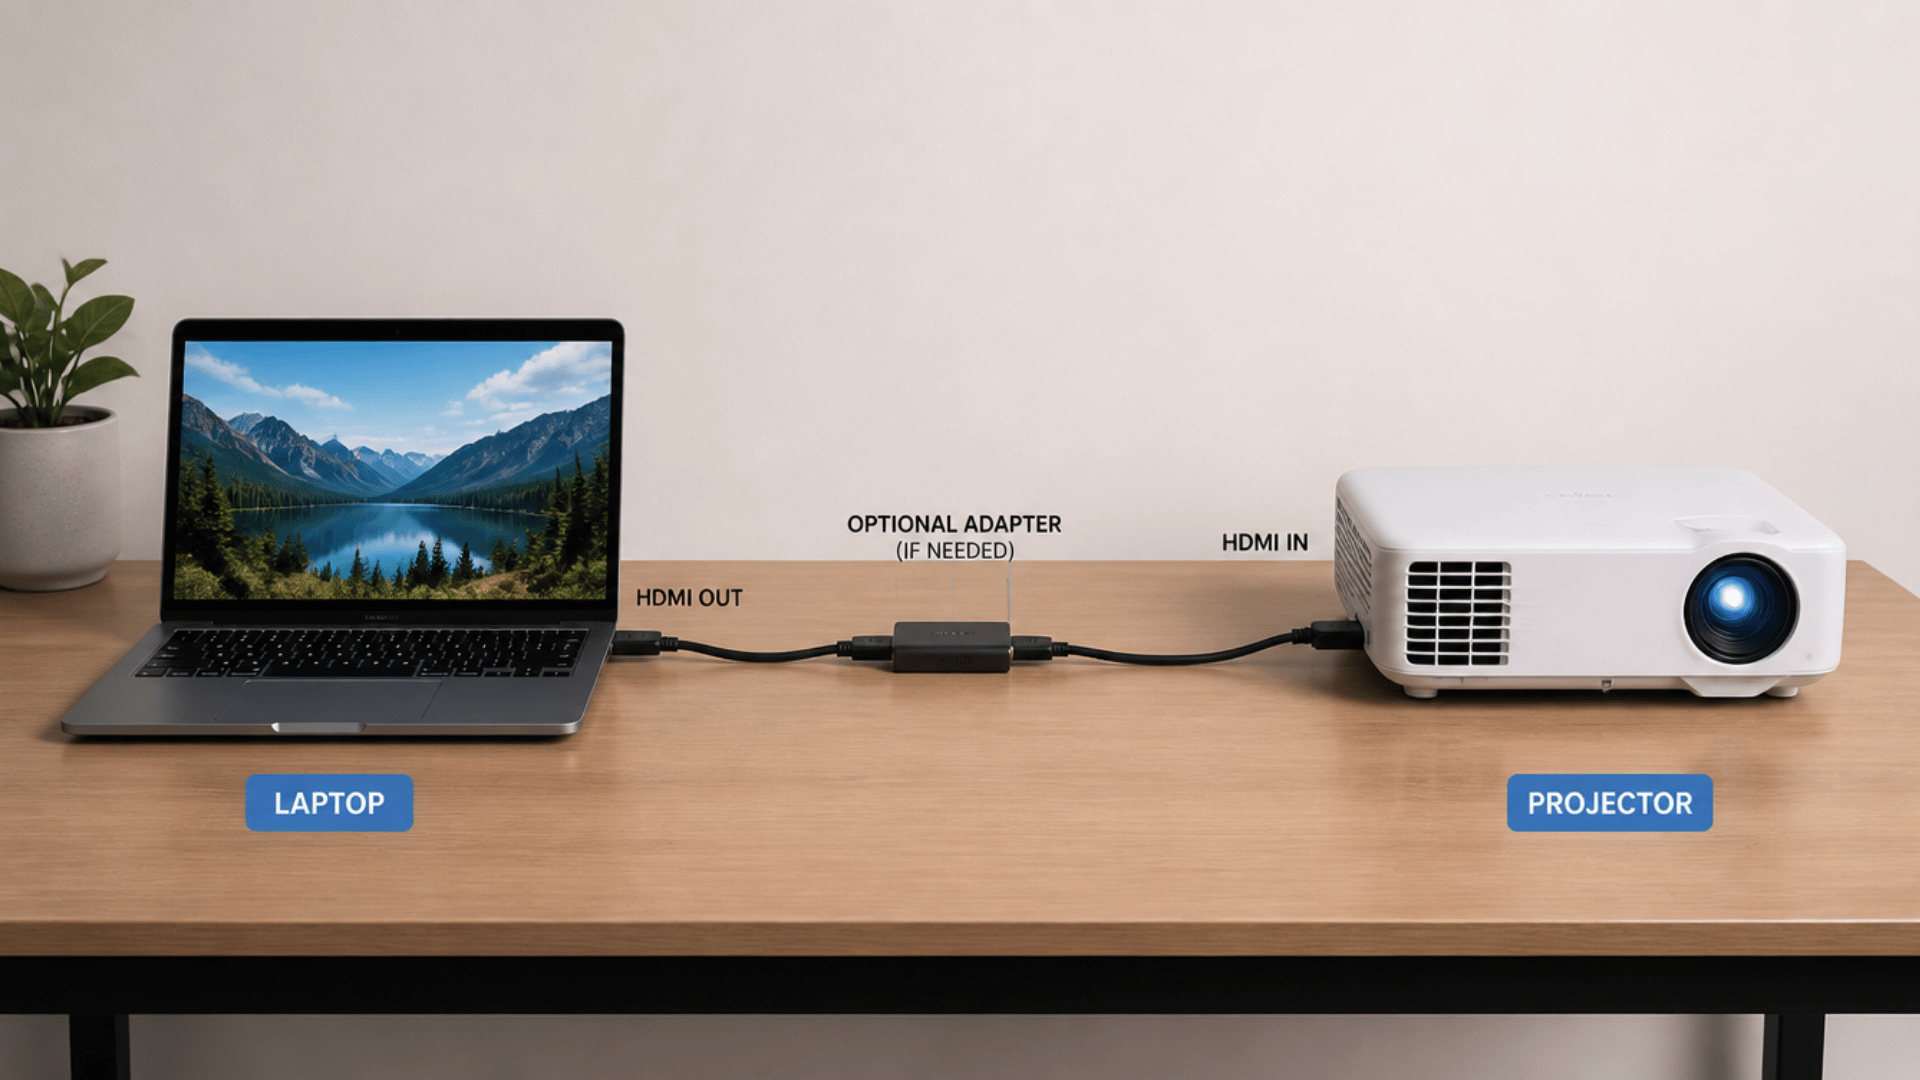
Connect one end of the HDMI cable to the laptop’s HDMI port and the other end to the projector’s HDMI port. Make sure both ends are fully inserted for a proper and stable connection.
If the laptop does not have an HDMI port, use a compatible HDMI adapter. Connect the adapter to the laptop first, then attach the HDMI cable to complete the setup.
Step 2: Select Projector Input
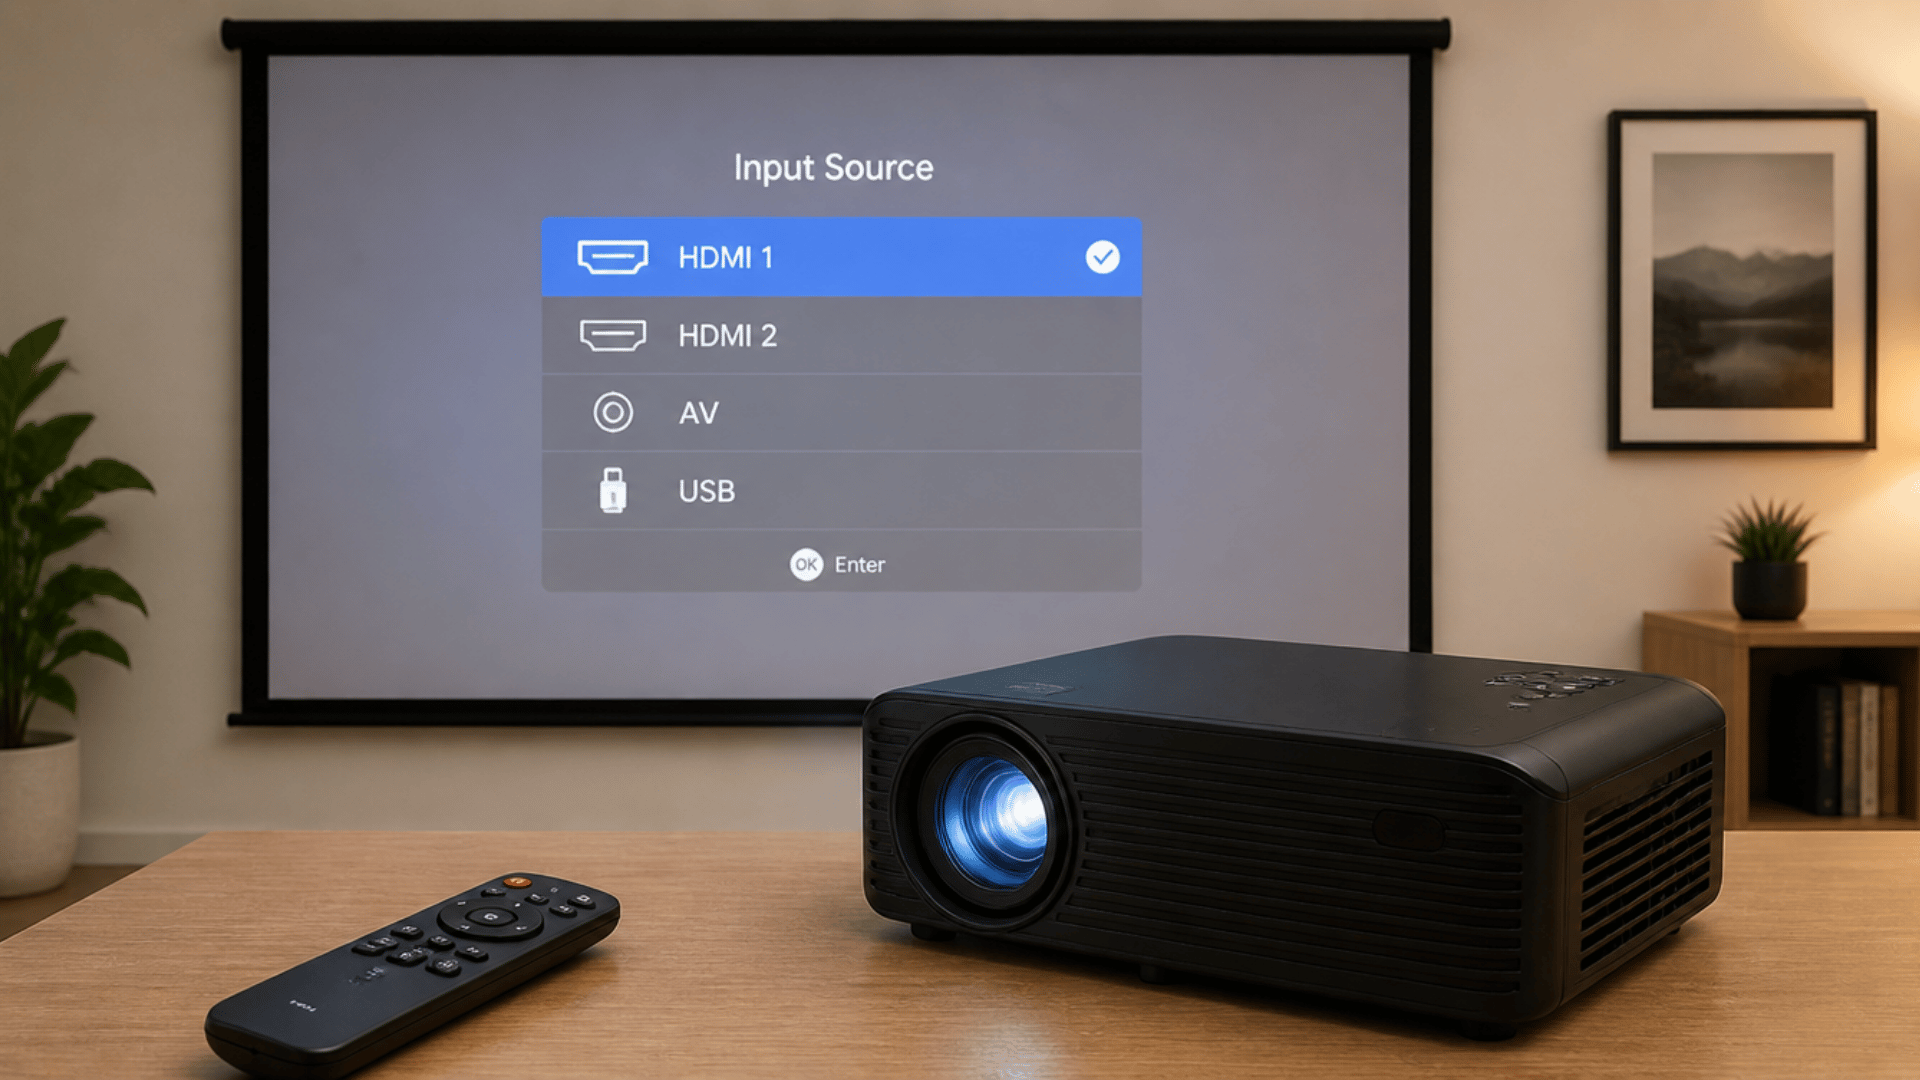
Open the projector input menu using the remote control or the buttons on the projector. This menu allows you to choose the correct source for the display signal.
From the list of available inputs, select the HDMI port that is currently connected. This ensures the projector receives the video signal from the laptop.
Step 3: Trigger Laptop Display Detection

Windows users can press Win + P to open display options and choose how the screen is shown. This helps you quickly switch between duplicate, extend, or second-screen modes.
Mac users can go to System Settings and open Display settings to adjust the screen output. From there, they can manage resolution, arrangement, and external display setup.
Step 4: Choose Display Mode
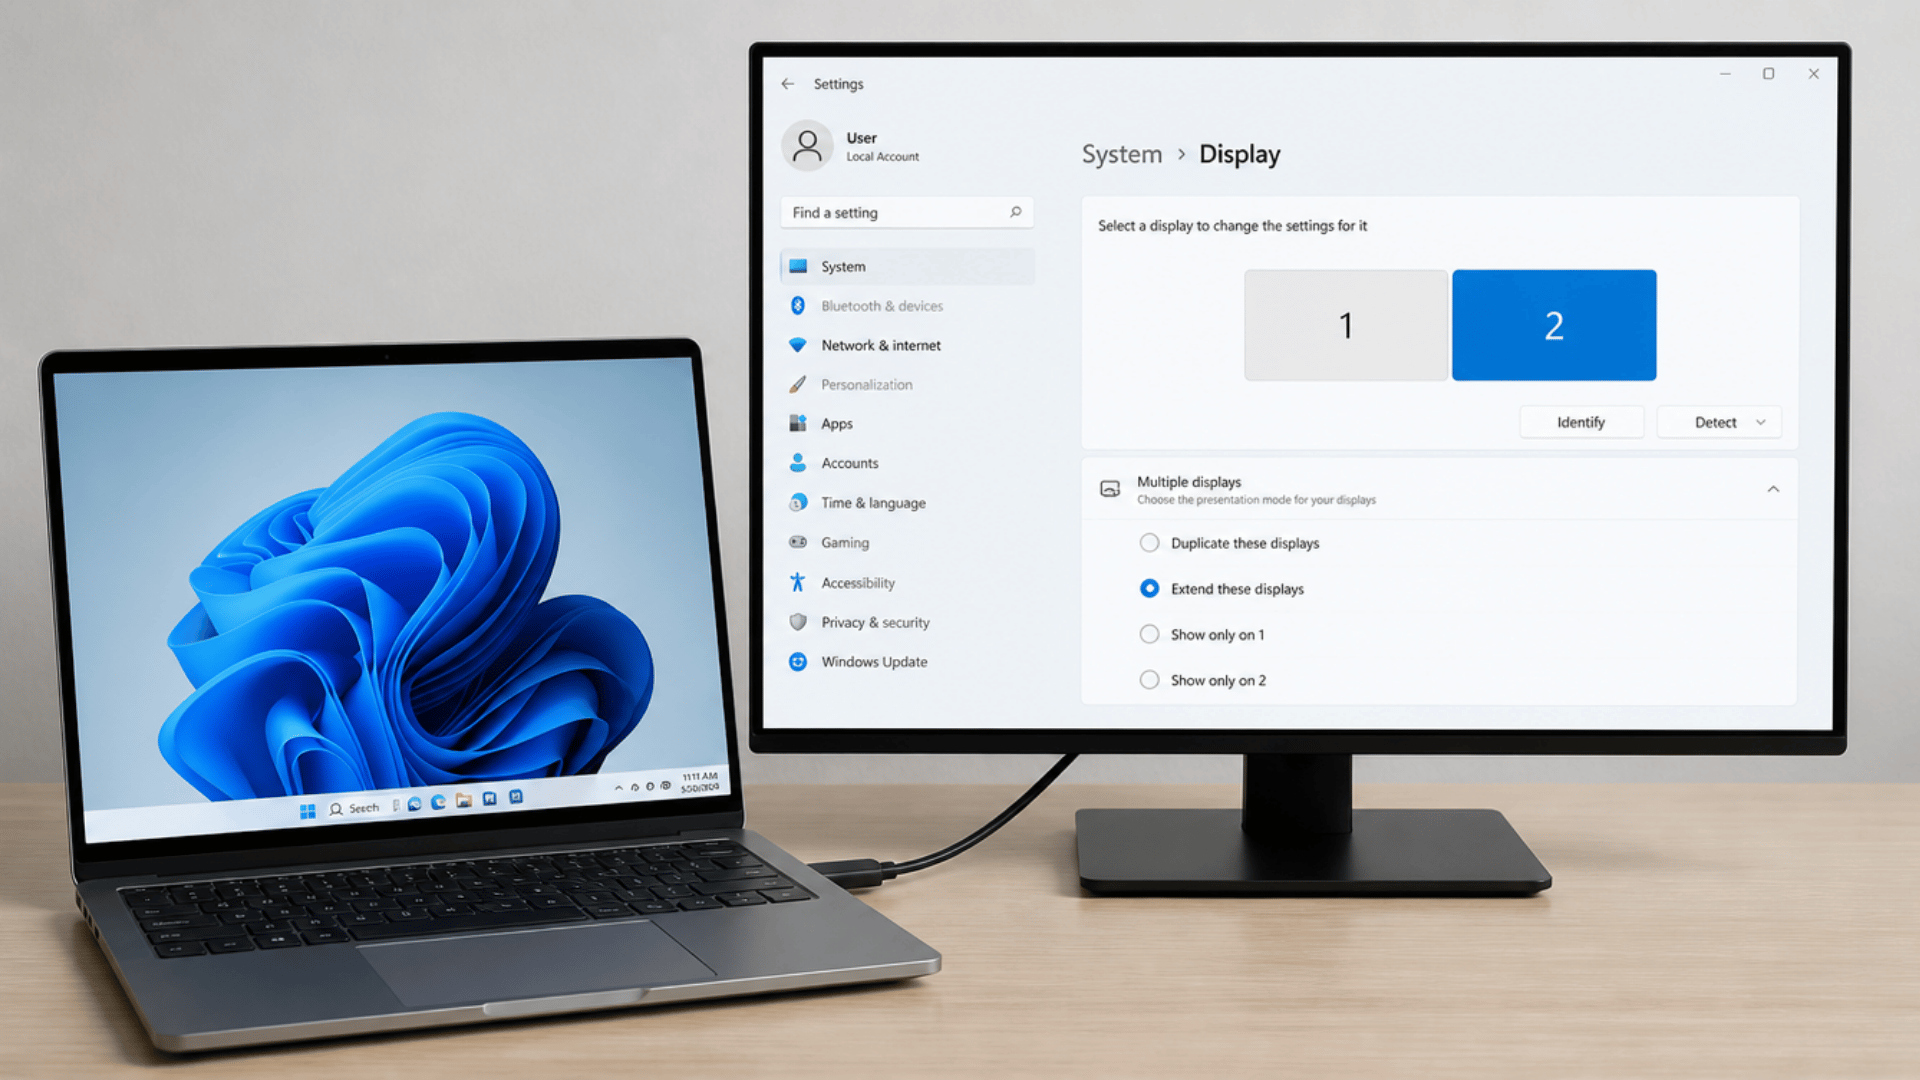
Here’s a quick overview of the display modes so you can choose the one that fits your setup best. Duplicate mode shows the same screen on both devices for easy sharing.
Extend mode adds extra workspace across screens for multitasking. Second-screen-only mode uses only the external display and turns off the laptop screen.
Duplicate Mode
- The Same Screen Appears on Both Devices
- Good for Presentations or Mirroring
Extend Mode
- The Second Screen Works as Extra Space
- Useful for Multitasking and Dragging Windows Across
Second Screen Only
- The Main Screen Turns Off
- Only the External Display Stays Active
- Ideal for Projector or Single-Monitor Use
Step 5: Confirm Output
Windows users can press Win + P to open display options and quickly select how the screen should appear.
This helps switch easily between duplicate, extend, and second screen modes.
Mac users can go to System Settings and open Display settings to manage the external screen setup.
From there, they can adjust arrangement, resolution, and screen behavior.
How to Connect Laptop to a Projector with HDMI on Windows 11
Windows 11 offers updated display controls for connecting external screens. The process remains similar to Windows 10, with improved access to settings.
Press Win + P or open System Display settings to choose projection mode. After selecting the HDMI input on the projector, Windows 11 automatically detects the screen.
Why Does HDMI Show No Signal on The Projector?
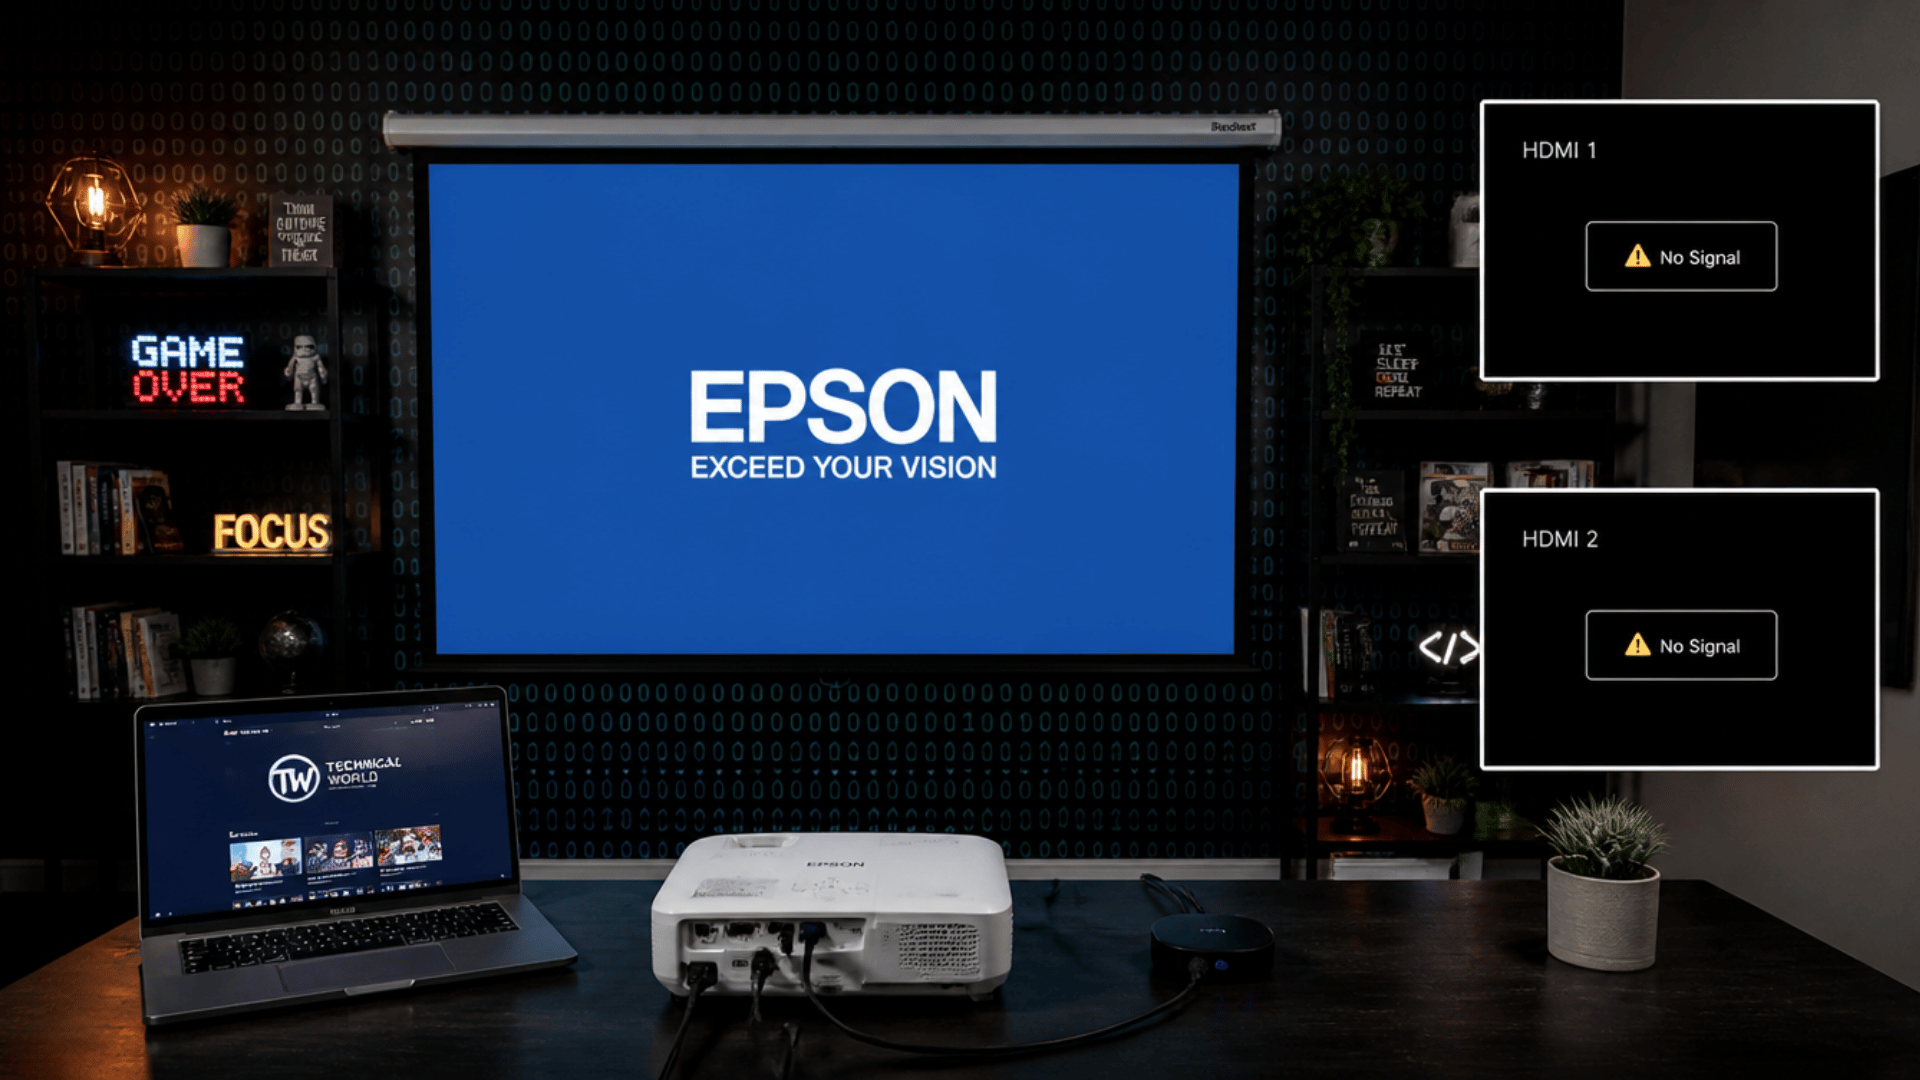
No Signal usually does not indicate hardware damage. It is often caused by simple setup issues such as loose HDMI/VGA cables, incorrect input selection, or mismatched display settings.
In most cases, fixing the connection or switching to the correct source restores the display without any repair needed.
- Wrong Input Source: The projector may be on the VGA or another HDMI port. The correct HDMI input must be selected manually.
- Cable or Adapter Issue: A damaged HDMI cable can completely block signal transfer. If using a USB-C adapter, it must support video output for proper display.
- Display Mode Not Selected: The laptop may remain in internal screen-only mode after connection. On Windows, use Win + P to switch to Duplicate or Extend mode.
- Resolution Mismatch: The laptop resolution may not match the projector’s supported display settings. Setting the resolution to 1920×1080 usually works for most projectors.
- Driver Issue: Outdated or corrupted graphics drivers can prevent proper display detection. Updating the graphics driver often resolves recognition and signal problems.
Tips: Restart both the laptop and projector to refresh the connection. Try switching HDMI ports if the first one does not respond.
How to Adjust Display Settings After HDMI Connection?
After connection, display settings control the image quality and sound output. Incorrect settings can lead to blurred visuals or no audio.
They also affect how the screen is shown on the projector, such as a stretched or cropped display. Adjusting these settings correctly ensures a clear picture and proper sound.
1. Display Mode Selection
Here are the different display modes used when connecting a laptop to a projector. Each mode controls how your screen appears on the external display:
- Duplicate Mode for Presentations: Shows the same screen on both laptop and projector for easy viewing. Useful when sharing content with an audience without changing layout.
- Extend Mode for Multitasking: Adds the projector as an extra workspace for more screen space. Helps in working on multiple files or dragging content across screens.
- Second Screen Only for Projector Use: Displays output only on the projector while laptop screen stays off. Ideal for presentations where only the projector display is needed.
2. Resolution Setup
Set the resolution to match the projector’s native display settings for best clarity. This helps avoid blurred or stretched visuals on the screen.
Common supported resolutions include 1920×1080 and 1280×800. Choose the one that matches your projector for a clear and stable display.
3. Audio Output Setup
HDMI carries both video and audio signals through a single cable. This allows sound to play directly through the connected projector or display.
If audio does not switch automatically, select the HDMI device in sound settings manually. This ensures the correct output device is used for proper sound playback.
4. Screen Issue Fix
Blurry or stretched display usually happens due to a mismatch in resolution or aspect ratio settings. This causes the image to look unclear or improperly fitted on the screen.
Adjusting the resolution to match the projector’s native settings can fix the issue. It ensures the display appears sharp, properly scaled, and correctly aligned.
Conclusion
Connecting a laptop to a projector becomes simple when the correct steps are followed. From using the HDMI cable to selecting the right input and display mode, each step ensures a smooth and clear projection experience.
Understanding how to connect laptop to projector with HDMI helps avoid common issues like no signal, blurry display, or missing audio.
With the right settings, users can achieve stable video output and improved presentation quality in seconds. For best results, always check cables, resolution, and input source before starting any session.
Need quick help setting it up? Follow the steps above and get your display working in minutes.
Leave a comment below if you faced any issues while connecting your laptop to a projector.
Frequently Asked Questions
Can a Laptop Connect to a Projector Using Hdmi without Installing Any Software?
Yes, an HDMI connection does not require any software installation. It works through direct hardware input and the laptop’s display settings.
Why is There No Sound Even After an Hdmi Connection to The Projector?
This usually happens when HDMI is not selected as the default audio output. Select the HDMI device in sound settings to enable audio playback.
What Should be Checked if The Projector Still Shows No Display After the Hdmi Connection?
Check the cable connection, input source, and display mode on the laptop. Restarting both devices can also help restore the signal.