You need to save something on your screen fast. But you have no idea where to start.
Learning how to take a screenshot on an HP computer is easier than most people think. It takes just a few seconds once you know the right method.
The right shortcut saves you time and keeps your work organized. You can capture a full screen, a single window, or just a small section.
From the fastest shortcuts for finding your saved files to everything you need, everything is covered step by step.
How to Ss on Hp Laptop Using the Print Screen Key
This is the most basic way to take a screenshot on an HP laptop. It works on almost every Windows device. It is quick and requires no extra tools or setup.
You simply press the PrtSc (Print Screen) key on your keyboard. The screen is captured instantly and copied to your clipboard. Nothing is saved automatically at this stage.
To use the screenshot, open an app like Paint or Word and press Ctrl+V to paste it. From there, you can edit or save it as an image file on your laptop.
| Active window screenshot |
| If you only want one window (not the full screen), press Alt + PrtSc. This captures only the active window and copies it to the clipboard. Paste it into Paint or Word to save it. |
Note: Some HP laptops require the function key. Press Fn + PrtSc. This depends on your keyboard settings.
Using Windows + Prt Sc
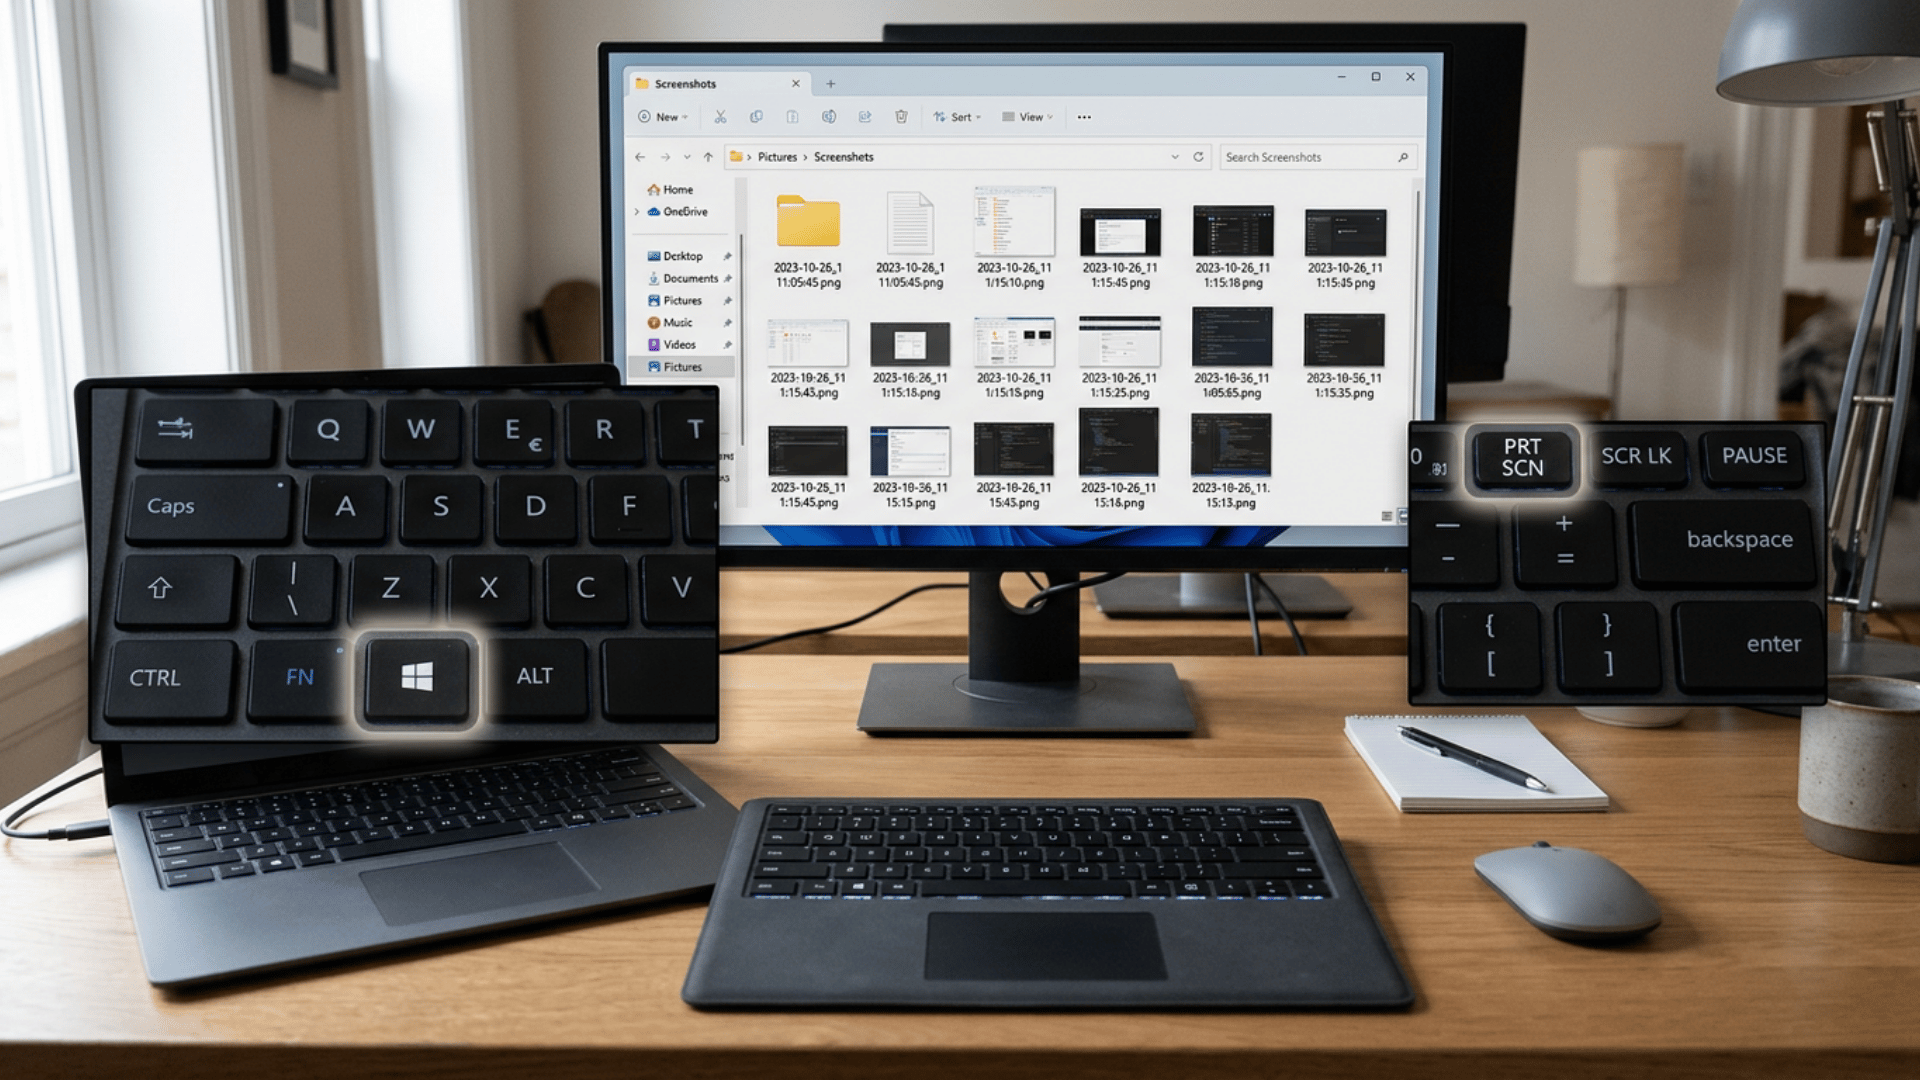
This is one of the easiest methods because it automatically saves your screenshot. You don’t need to paste it into any app afterward.
Press Windows key + PrtSc and the screen will briefly dim to confirm the capture. Your screenshot is saved instantly in the Pictures > Screenshots folder.
What happens:
- The screen briefly dims
- Screenshot is taken instantly
- The file is saved automatically
To find it, go to This PC > Pictures > Screenshots
Note: This method is great when you need multiple screenshots quickly without pasting anything.
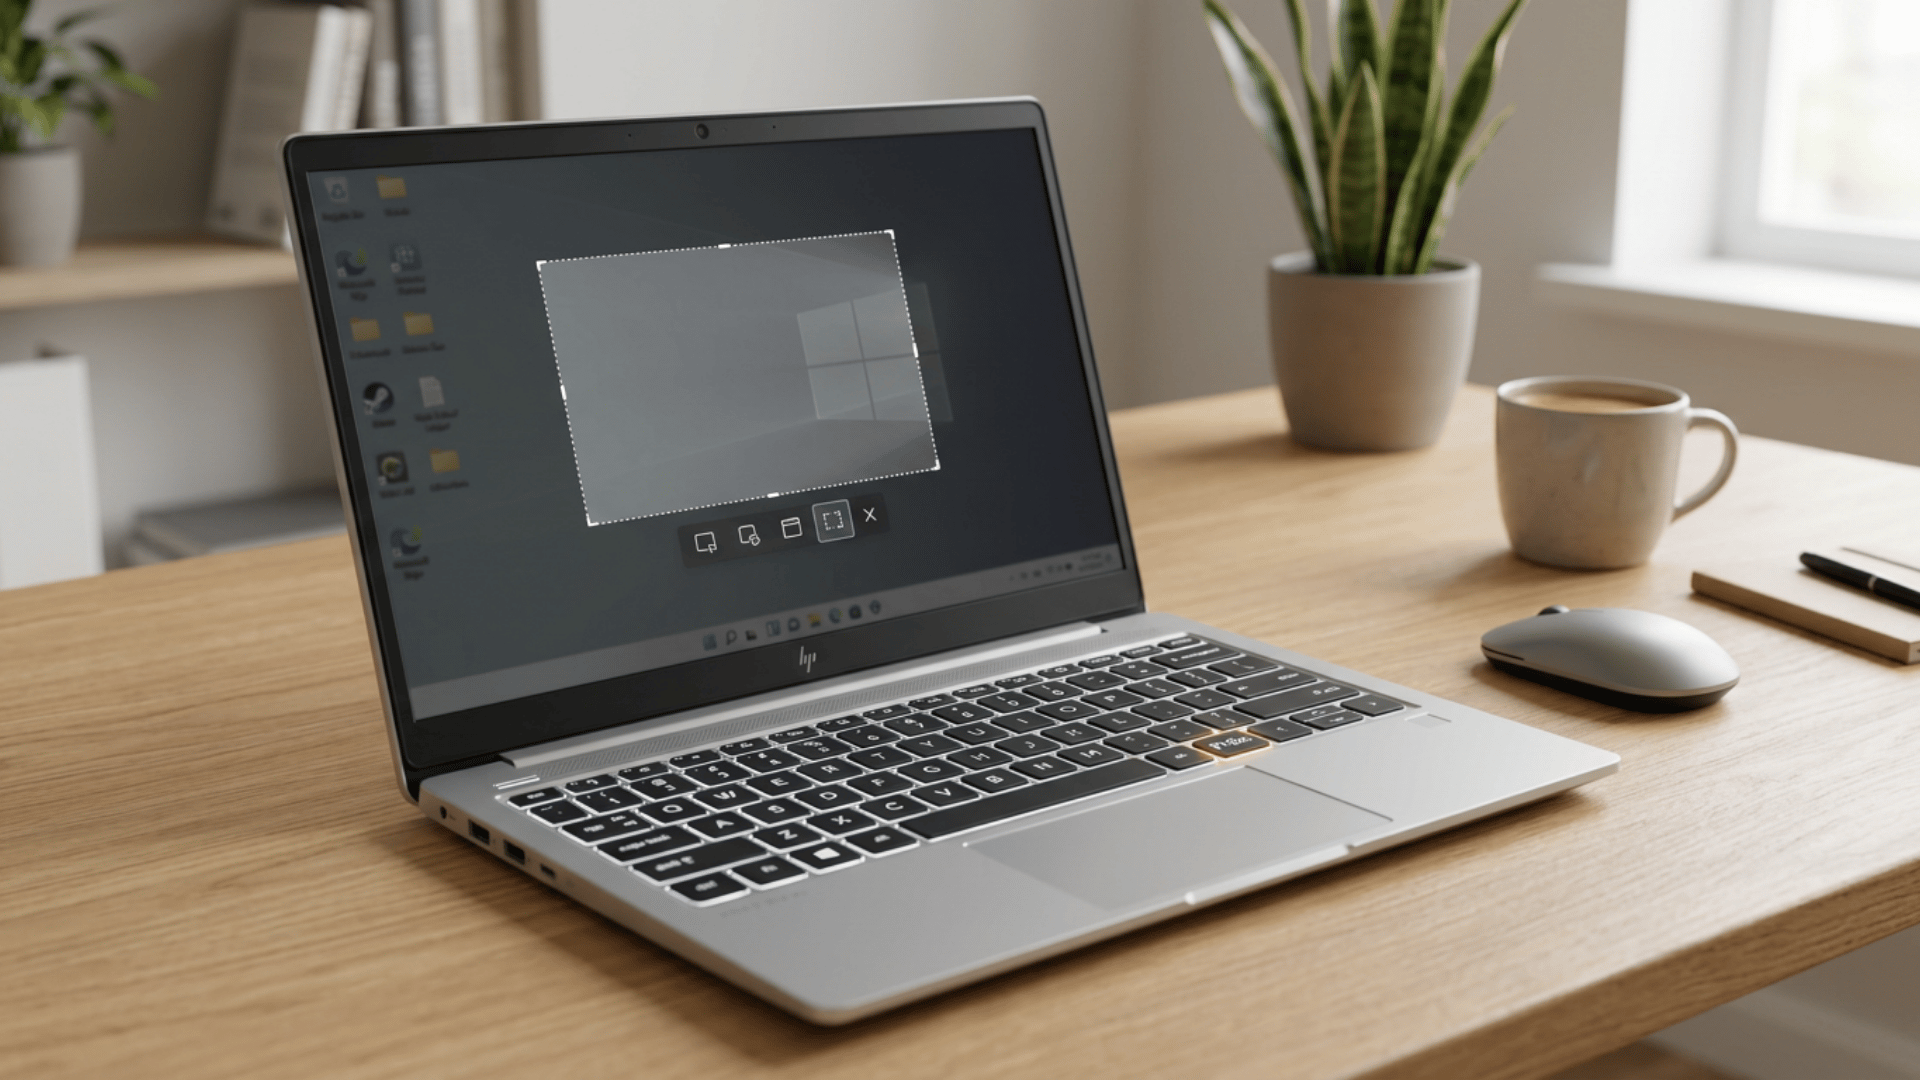
Using Snipping Tool

Snipping Tool lets you choose exactly what part of the screen you want, instead of capturing the whole display.
It gives you more control and is useful when you need only a specific section, window, or detail on your screen.
How to Use It
- Search for Snipping Tool in the Start menu on your Windows laptop.
- Click New to start a new screenshot capture session.
- Select the area you want to capture by dragging your mouse.
- Finally, save the screenshot to your preferred folder.
Snip Types You Can Use
If you want more control over what part of your screen you capture, Windows gives you several built-in snipping options.
These tools let you select exactly what you want instead of capturing the whole screen.
| Snip Type | Description |
|---|---|
| Rectangular Snip | Drag a box to select and capture a specific area of the screen |
| Free-form Snip | Draw any shape around the area you want to capture |
| Window Snip | Capture a specific open window with one click |
| Full-screen Snip | Capture everything visible on your screen at once |
This method is useful when you only need part of the screen.
Using Snip & Sketch (Windows 10 and 11)
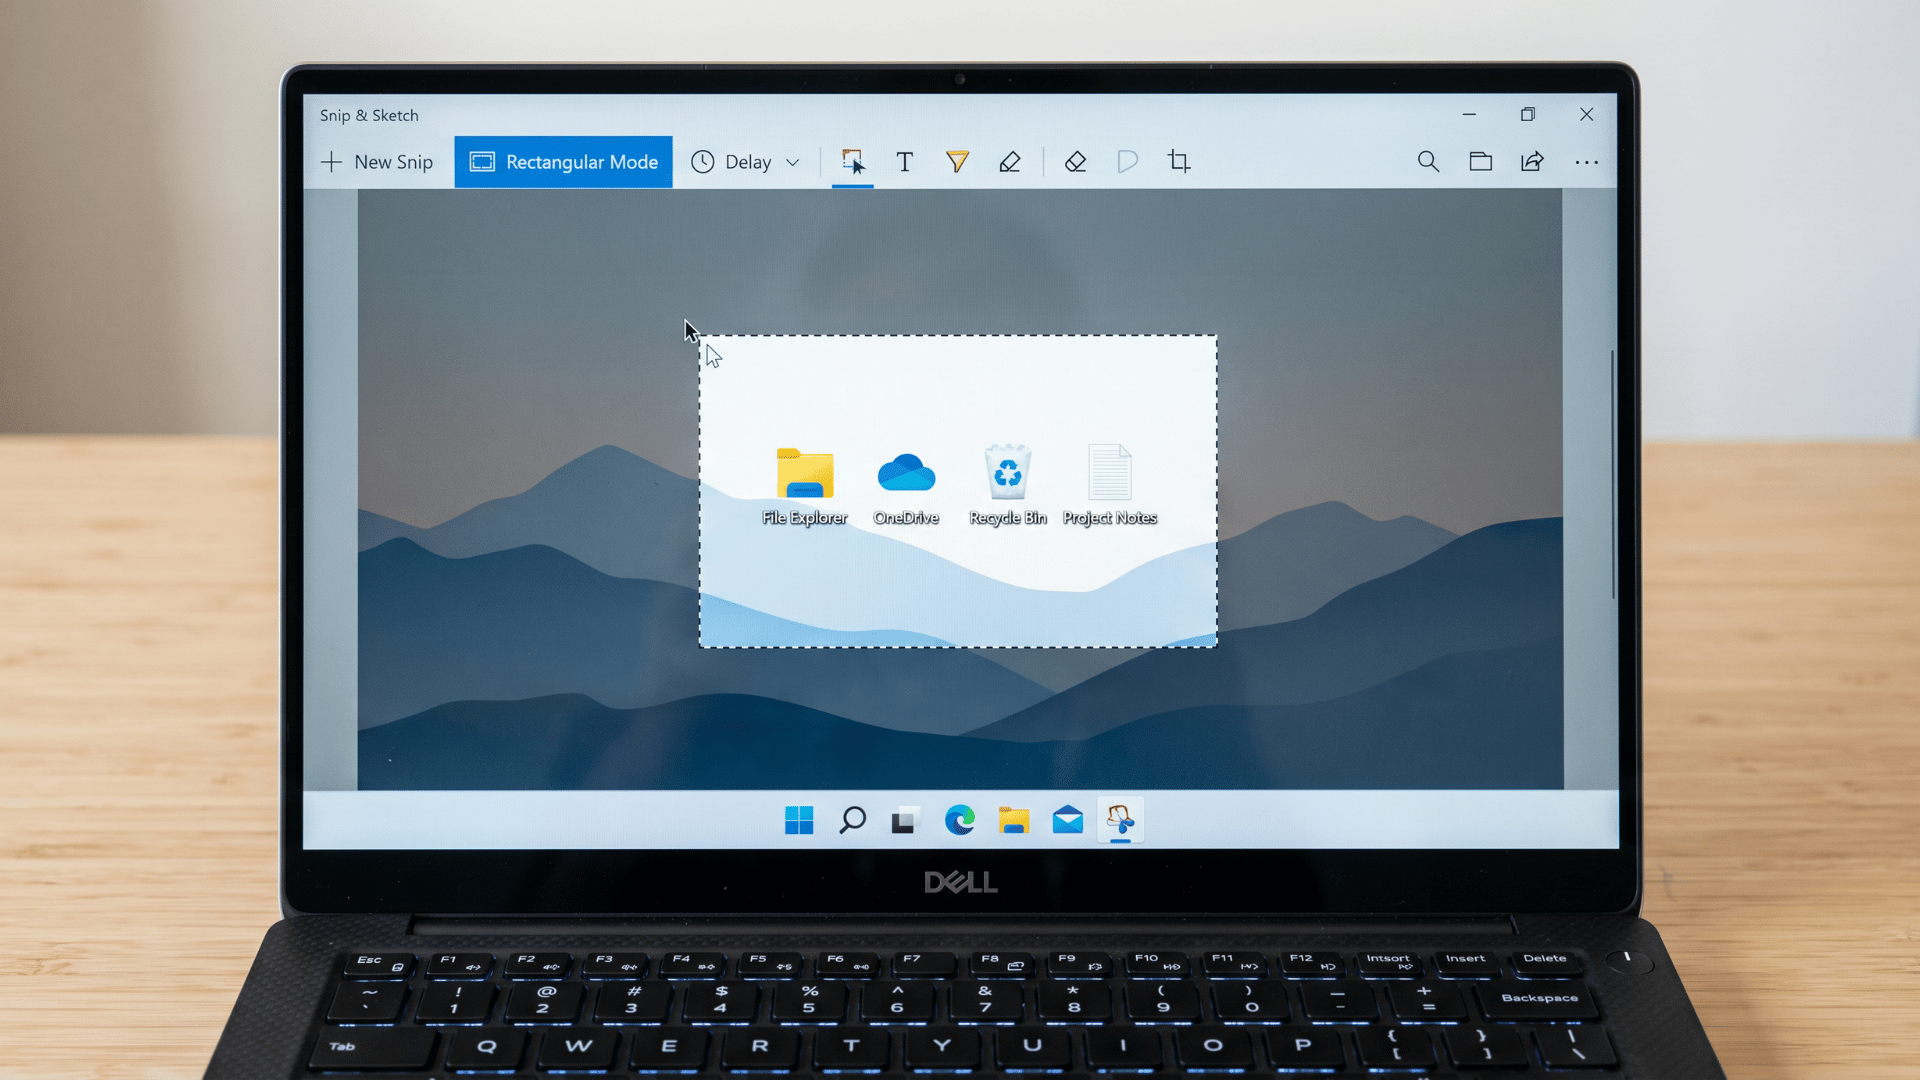
This is a faster and more modern way to take screenshots. The shortcut method is to press Windows + Shift + S
After Shortcut
- The screen of your laptop will dim
- Choose a snip type from the top menu
- Select the area you want to take a screenshot of
- Click the notification to open and save
| Why this is useful: |
|
It is useful because it lets you quickly select only the needed part of the screen, saving time. It also allows simple editing, like highlighting or drawing, before saving. |
How to Take a Scrolling Screenshot on HP?
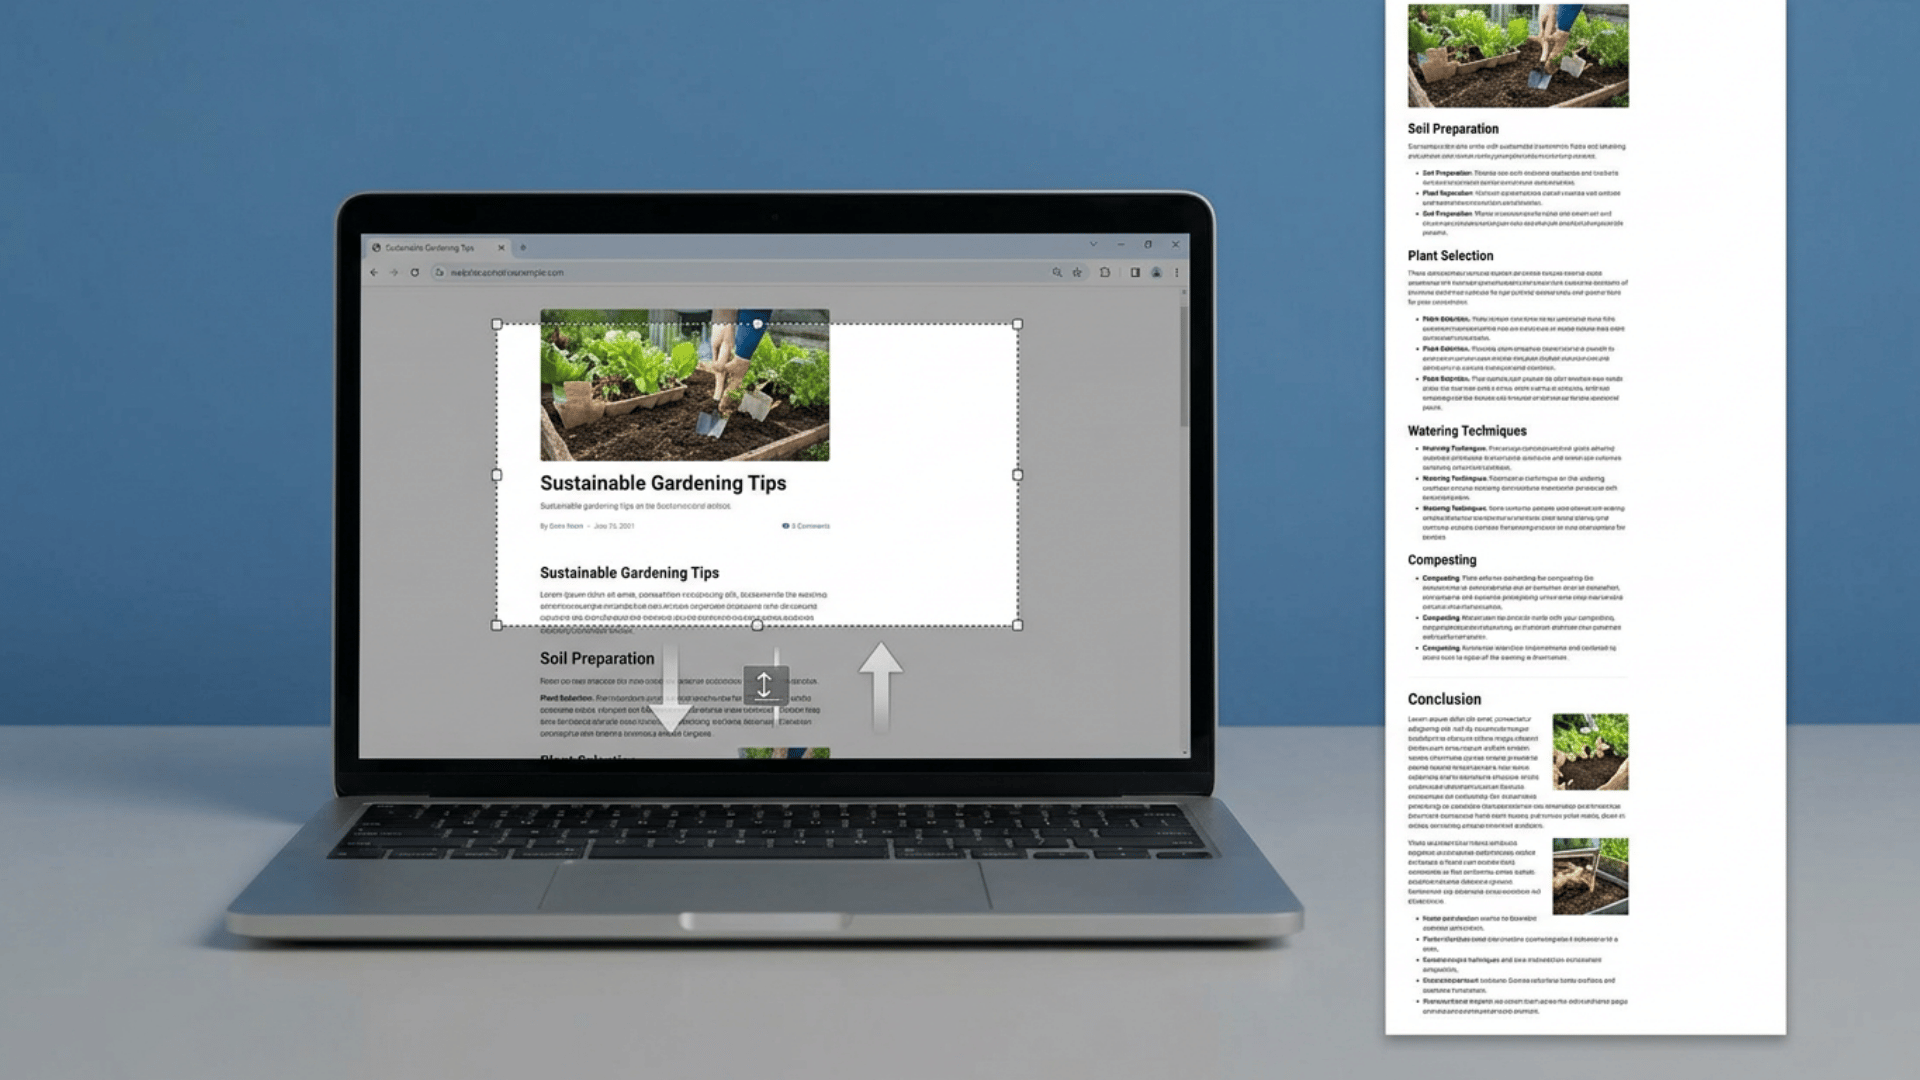
Sometimes one screenshot is not enough. A scrolling screenshot lets you capture an entire webpage or a long document in a single image.
HP computers do not have a built-in scrolling screenshot feature.
Using ShareX
ShareX is a screenshot tool that supports scrolling capture. It is lightweight and works well on all versions of Windows.
- Download and install ShareX from its official website.
- Open the webpage or document you want to capture.
- Click Capture in ShareX and select Scrolling Capture.
- ShareX will automatically scroll and stitch the entire page into a single image.
- Save the final image to your preferred folder.
Taking a few seconds to set up ShareX correctly can make the whole process much smoother. Once installed, capturing long pages becomes quick and effortless with just a few clicks.
Using Browser Extensions
If you only need scrolling screenshots of webpages, a browser extension is the easiest option.
GoFullPage works in Google Chrome and captures the full page with one click, while FireShot supports both Chrome and Firefox and offers options to save as a PDF or an image.
Both extensions are free, easy to install, and require no technical setup. Simply install the extension, open the webpage you want to capture, and click the extension icon to get started.
Note: These tools work best for webpages and documents. They may not work inside desktop apps or games.
Scrolling screenshots saves time and keeps all your information in one clean image instead of multiple files.
Where Your Screenshots Are Saved?
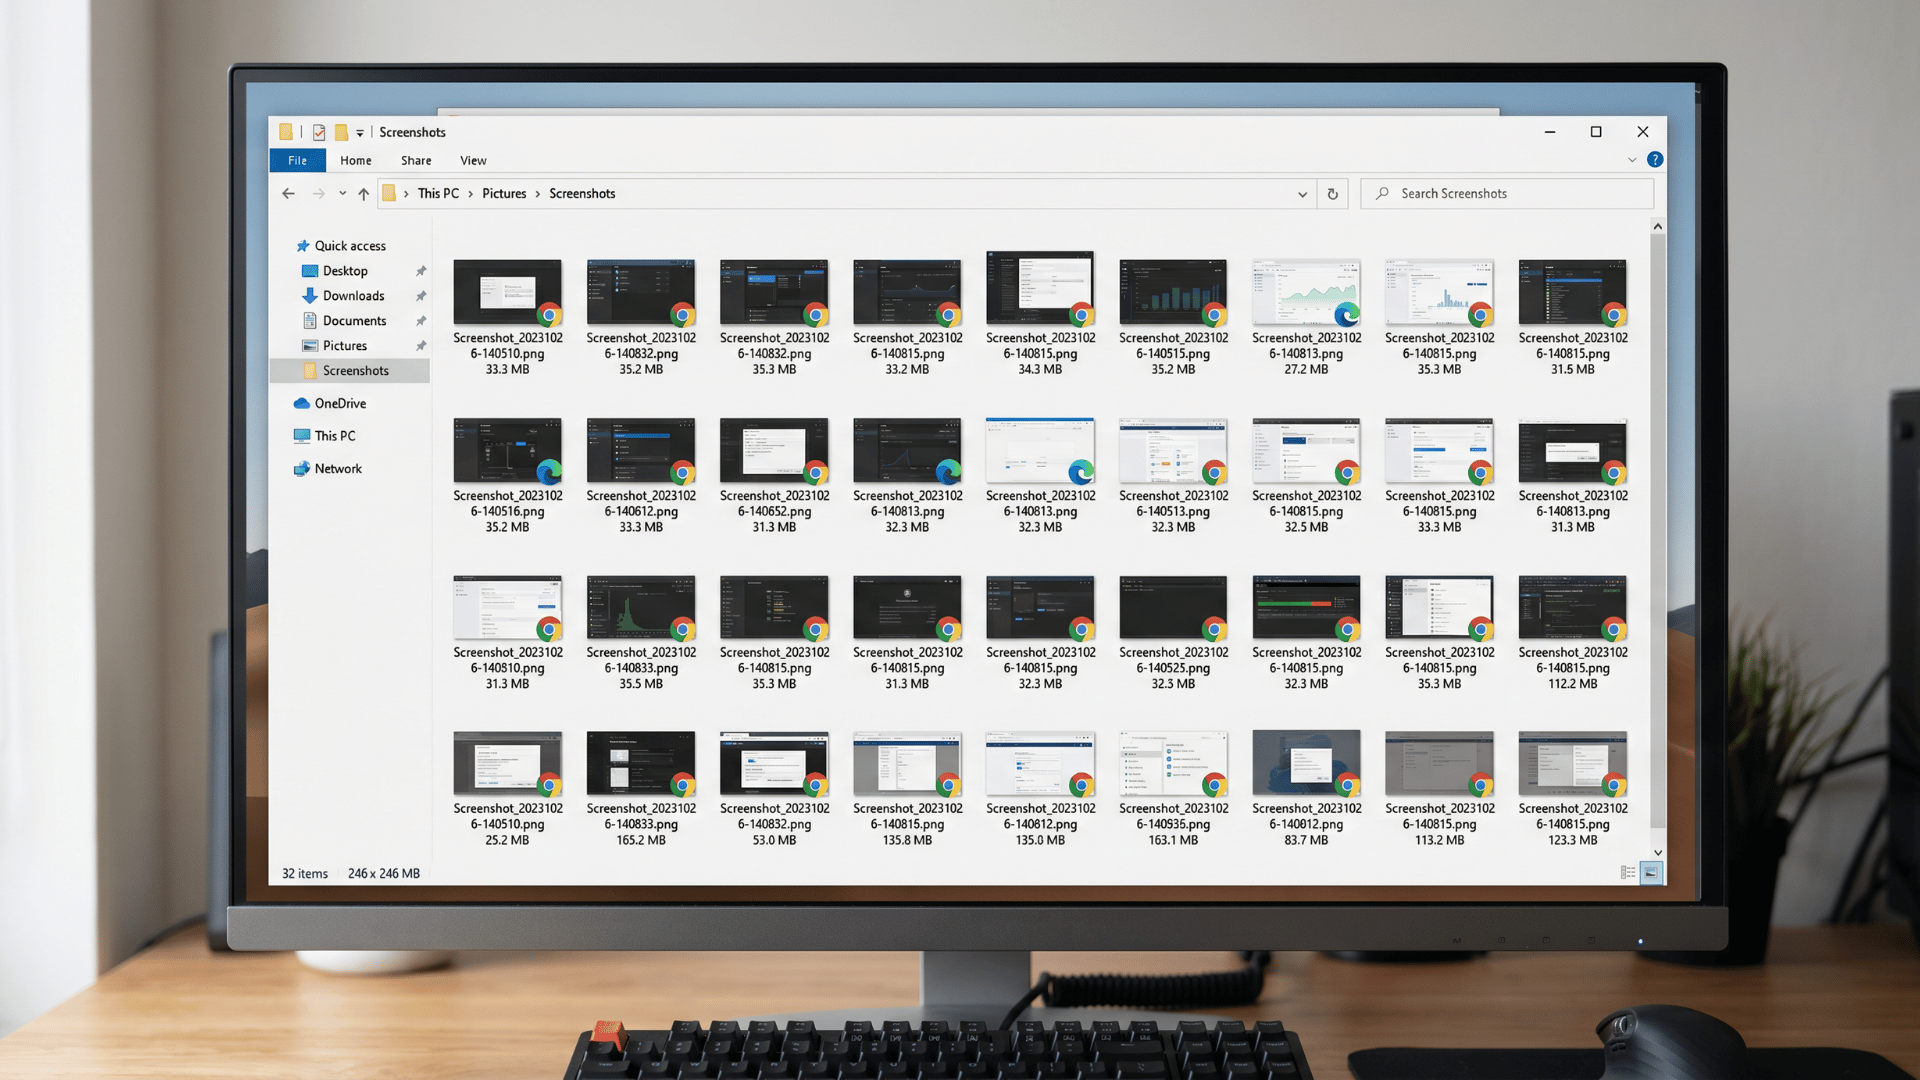
Depending on the method you use, screenshots may be saved in different places, so knowing which shortcut does what can save you extra steps.
- Automatic Save with Windows + PrtSc: Captures your screen instantly and saves it directly to the Pictures > Screenshots folder, with no manual action required.
- Clipboard-Only Capture with PrtSc: Copies the screenshot to your clipboard only — no file is saved until you paste and save it manually.
- Active Window Capture with Alt + PrtSc: Captures only the active window to your clipboard; requires a manual paste to save.
- Manual Save Required for Clipboard Methods: For both PrtSc and Alt + PrtSc, open Paint or Word, paste the image, then save it as a file.
Choosing the right screenshot method depends on how quickly you need to save and where you want the file to end up.
Common Problems and Fixes
If you are facing issues while taking screenshots on an HP laptop, here are some simple problems and their quick solutions:
| Problem | What to Try | Quick Tip |
|---|---|---|
| PrtSc key not working | Try Fn + PrtSc | Check if keyboard drivers are updated and restart your laptop |
| Screenshot not showing up | You may have copied it to the clipboard only | Paste it into Paint to check |
| Screenshot not saving automatically | Use Windows + PrtSc | This saves the screenshot directly to the Screenshots folder |
| Screenshot looks blurry | Use PNG format when saving | Check display resolution settings for better clarity |
Conclusion
Now you have everything you need to capture your screen with confidence. Knowing how to take a screenshot on an HP computer means no more missing important information or wasting time searching for workarounds.
The right method keeps your workflow smooth and your files organized. Whether you need a quick full-screen capture or just a small section, the choice is now in your hands.
Pick one method, try it today, and see how much easier screen capturing becomes.
Found this guide helpful? Share it with someone who is still struggling with screenshots on their HP device.
Have questions or a favorite screenshot tip of your own? Drop it in the comments below; we would love to hear from you!
Frequently Asked Questions
Can I Take a Timed or Delayed Screenshot on My HP Computer?
Yes, the Snipping Tool has a built-in delay option that lets you set a timer before capturing. This is useful when you need to capture dropdown menus or tooltips that disappear quickly.
What File Format Are Hp Screenshots Saved in By Default?
Screenshots captured with Windows + PrtSc are automatically saved as PNG files. PNG keeps image quality sharp and works well for most sharing and editing needs.
Can I take a Screenshot on an HP computer without A Keyboard?
Yes, you can use the on-screen keyboard by going to Start and searching for On-Screen Keyboard. From there, press the PrtSc key to capture your screen without a physical key.